Adding a product page
About
The UltraCart StoreFront system will automatically create web pages for your store product when those products are assigned to a Product Group Page.
The instructions below will help you assign products to your group pages so that web pages are created for them.
If you are unclear about what a group page is versus a product page, please see this topic.
Creating a Product Page
Steps
Here are the steps for creating a products page within your store.
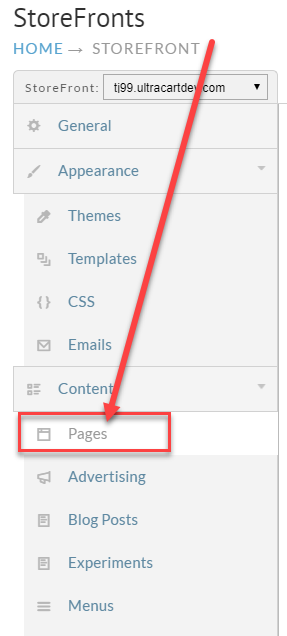
- From the StoreFronts page, click on the Pages tab.
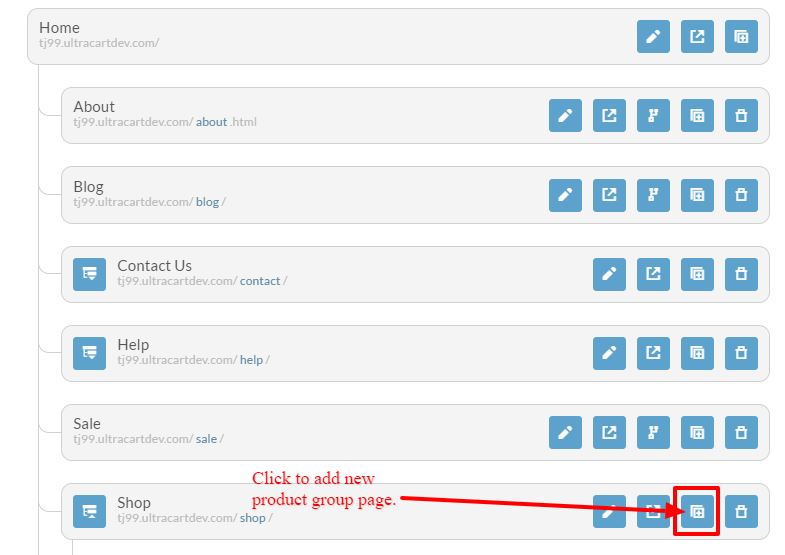
- To add the new group page, click the "Add a Child Page" button:
Next edit 'New Page' with the new page name, then update the URI to reflect the name page name:
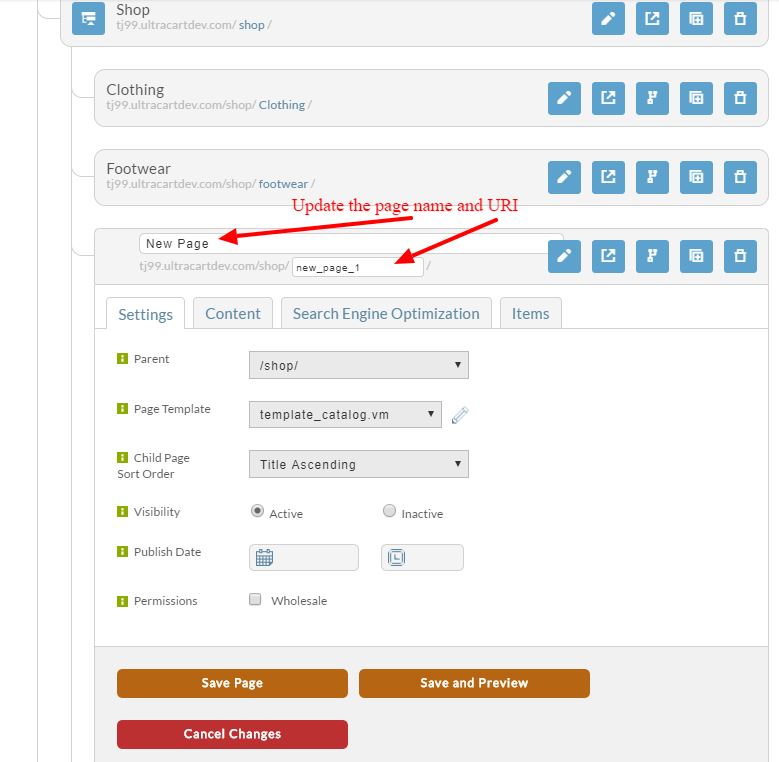
NEXT: Update the page name and directory with the new product group: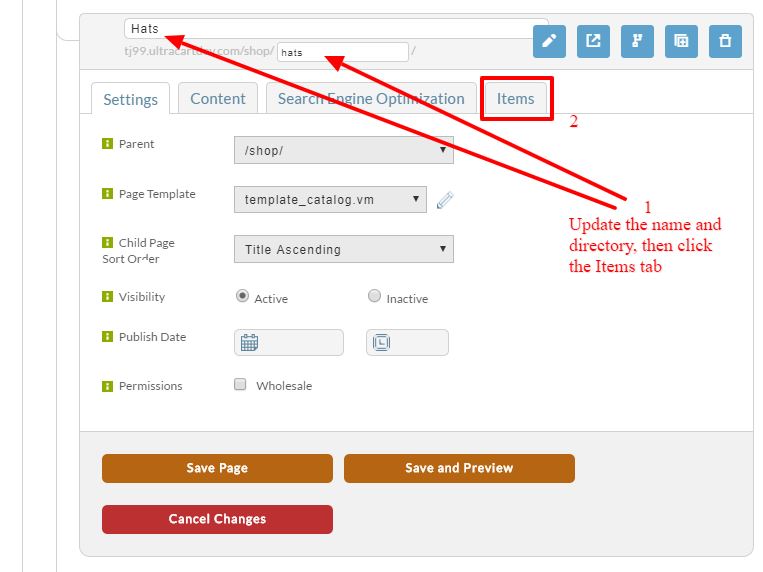
3. After clicking on the 'Items' tab, make sure that the "'Item Template' is set to "template_item.vm" in the drop down list:
Then save the changes.- To add a new item simply type an item ID into the search field. A list of items that match this search will be displayed for you to select the items you would like to create a product page for.
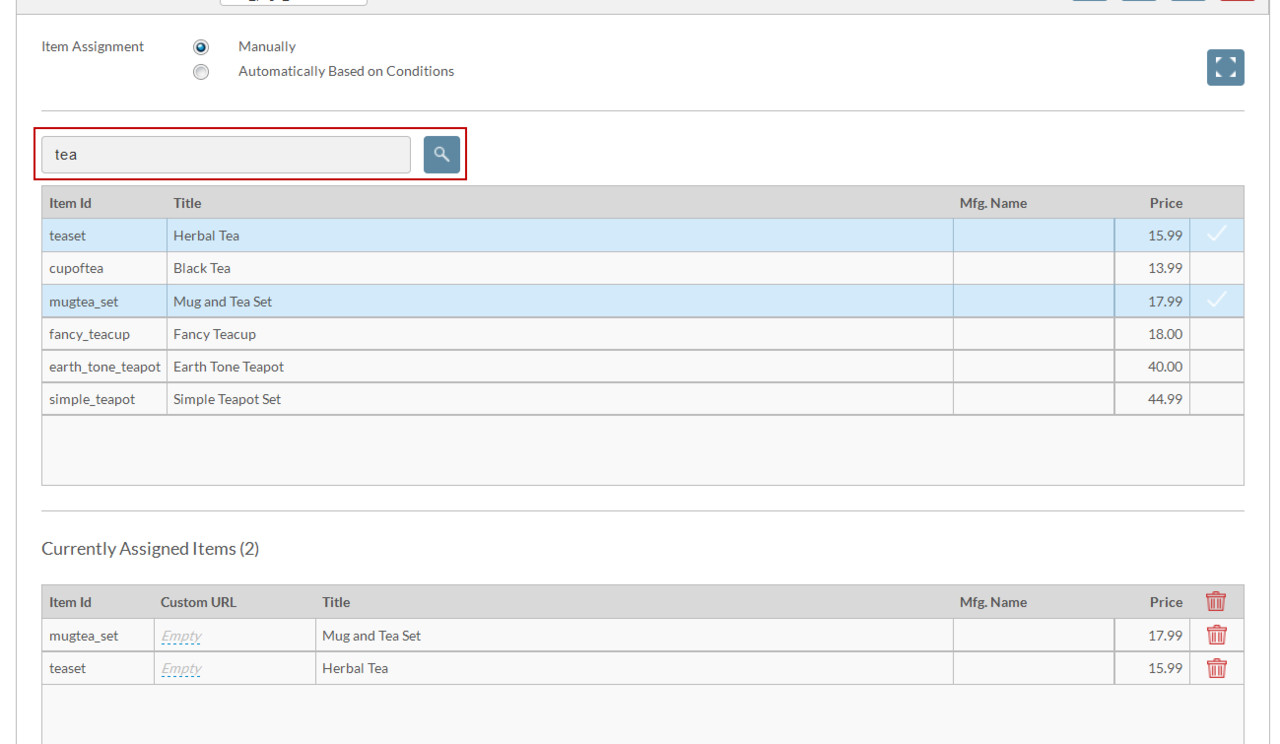
- As you can see from the image above I ran my search on the word "tea" and the system provided the following items that matched. You then simply click on the image you would like to add and they will be added to the assigned items and also be highlighted in blue.
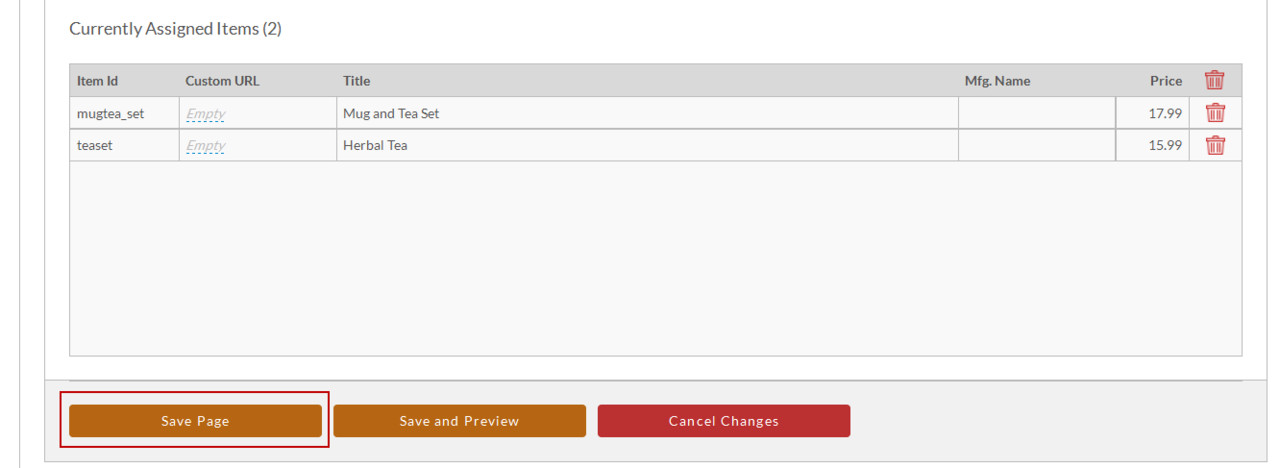
- Once you have selected all of your items that you would like to add simply click Save Page.
- To customize the URL for the item details page is an assigned item, click on "empty" in the "Custom URL field:
a.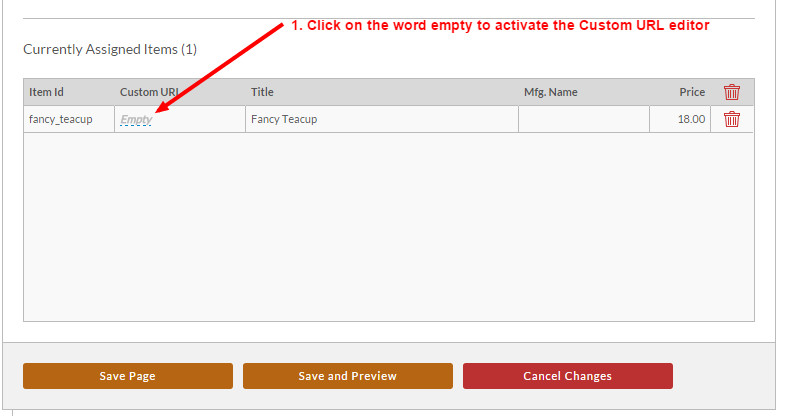
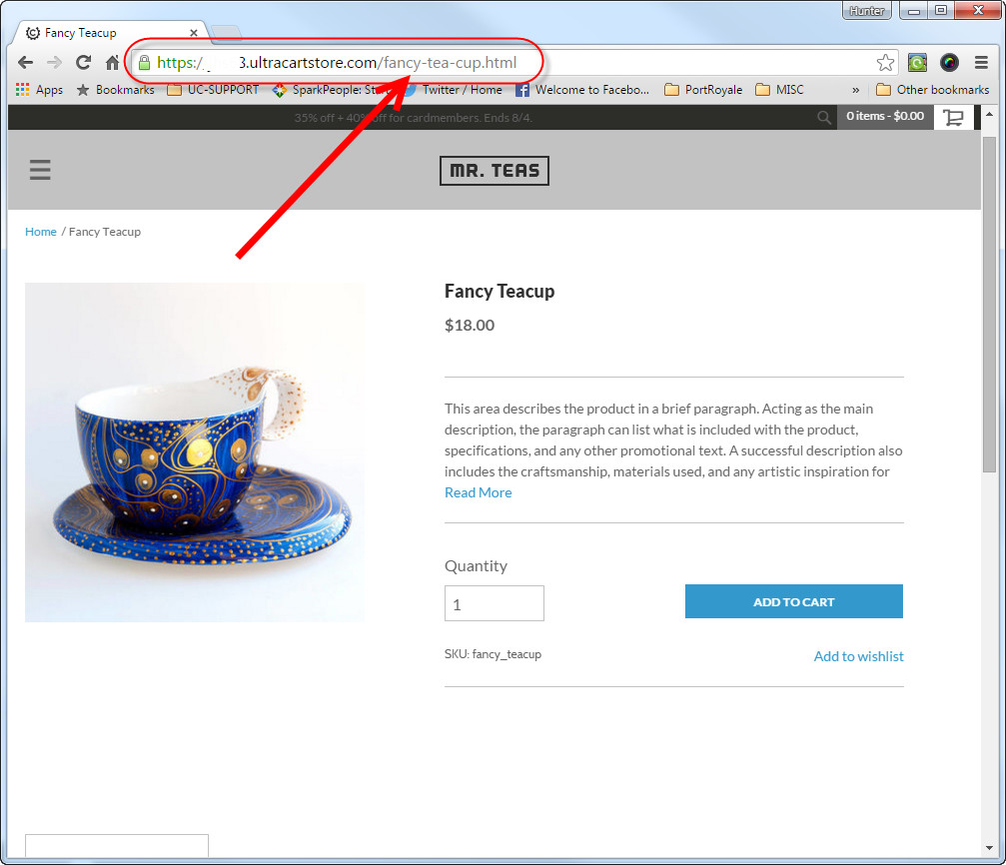
b. In the pop up dialog field, enter the portion of the URL that would be after the host name. For example, for the "fancy_teacup" item, I want the URL to appear as:
"fancy-tea-cup.html" instead of the default itemID address of "fancy_teacup.html":
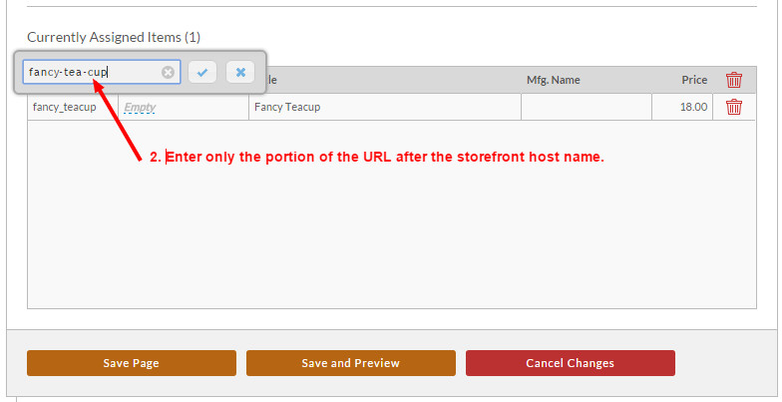
***Make sure to click the "check mark" button then click the "Save Page" button to save the changes.
c. The updated Custom Field will appear like this: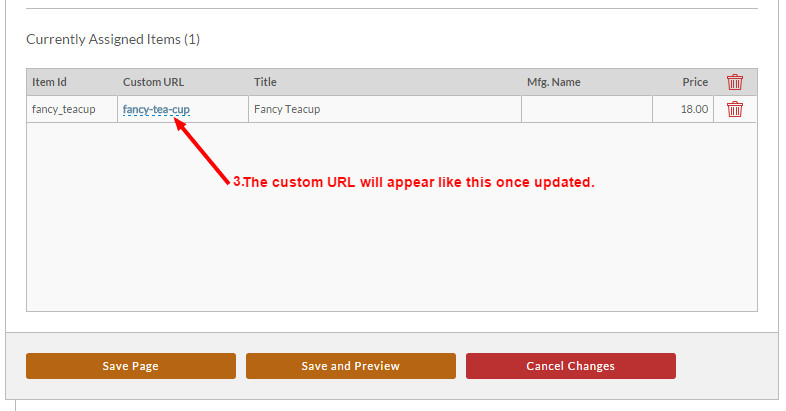
d. After save the page changes, viewing the item details page will load like this: