Integrating Tawk.to Chat Into Your Storefront
Overview
Interacting and maintaining contact with your customers is vital to success. With this in mind, many merchants wish to implement website chat tools that provide them the ability to directly interact with their customer in order to better assist them in finding the correct product/service and complete their checkout in a fast and efficient manner.
Tawk.to is a web site chat tool that implements a simple efficient chat tool into your website, and this tutorial will walk you through the integration steps.
Signing Up
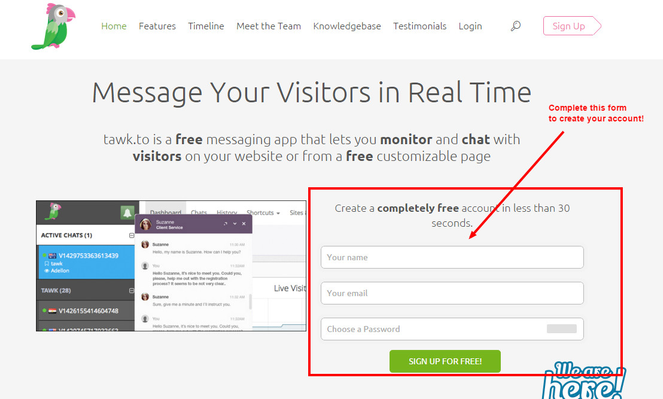
If you do not already have an account, the first thing you'll need to do is visit https://www.tawk.to/ and then fill in the sign up form that appears in the middle of the page:
Completing the Signup Wizard
After submitting the signup form, you''ll be presented with a quick three step sign up wizard.
Step 1 - Site Information
The first step of the wizard prompts you for the details about your store:
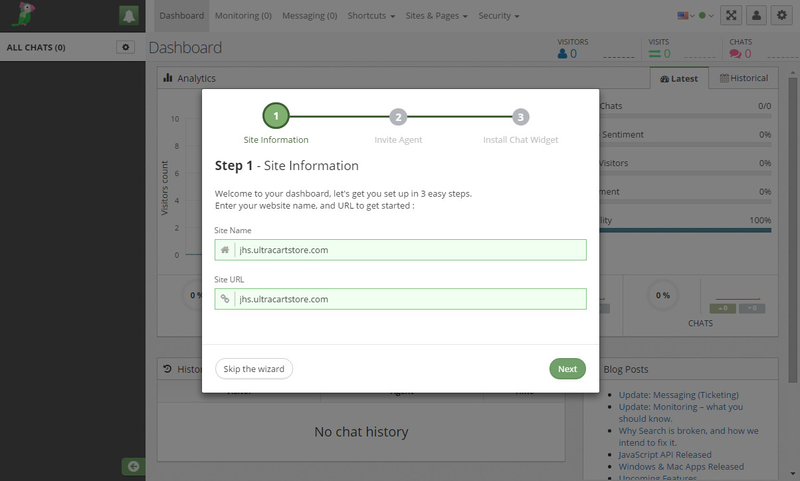
Here you are presented with two fields:
- Site Name - Enter the Name of your store here.
- Site URL - Enter the website URL here.
After entering those details, you are prompted to click 'Next' to continue to the next step of the wizard:
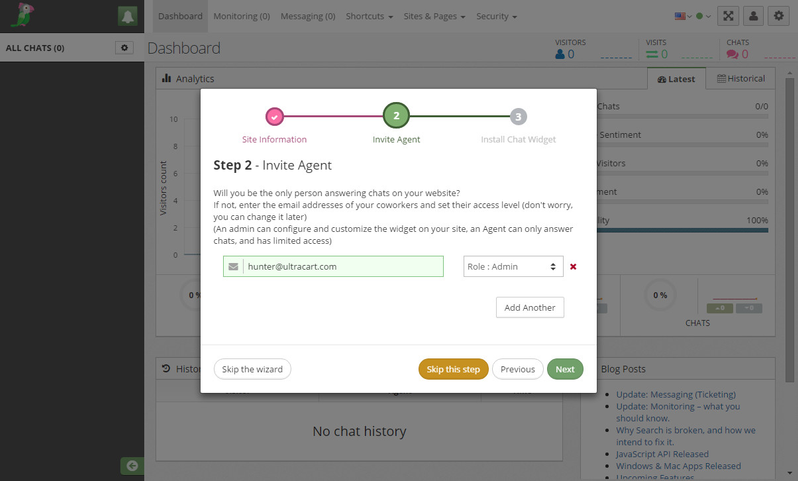
Step 2 - Invite Agents
You are going to need Chat operators, so the next step allows you to go ahead and invite those agents.
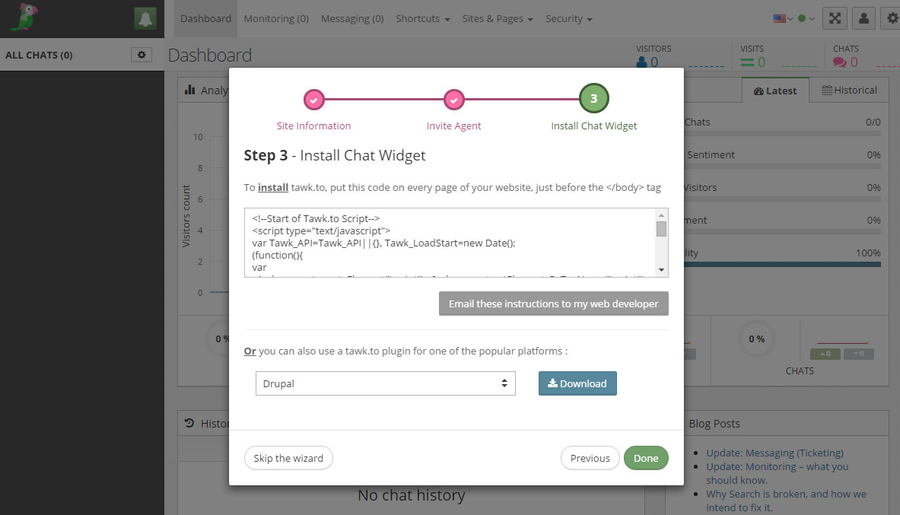
3rd Step - Install Chat Widget
This last step present you with the cut and paste code we will use to implement the Chat interface into our storefront:
Step 4 - Adding the Chat into the Storefront Template
Now that we have created our Tawk.to account and have completed the signup wizard,we are ready to place the chat code into our storefront template.
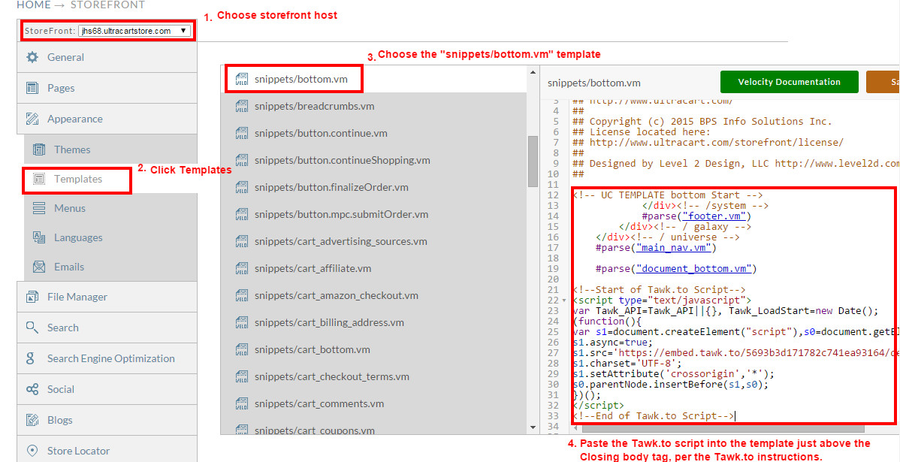
So, we will log into our account and navigate to the storefront host that we will be adding the chat into, and we will navigate to the "Templates" tab of the storefront menu.
The instructions are to place the chat script code just above the closing body tag of each page, so we will edit the "snippets/bottom.vm" (Mr. Teas theme), like this:
After saving the changes, navigate to your storefront to view the installed chat client:
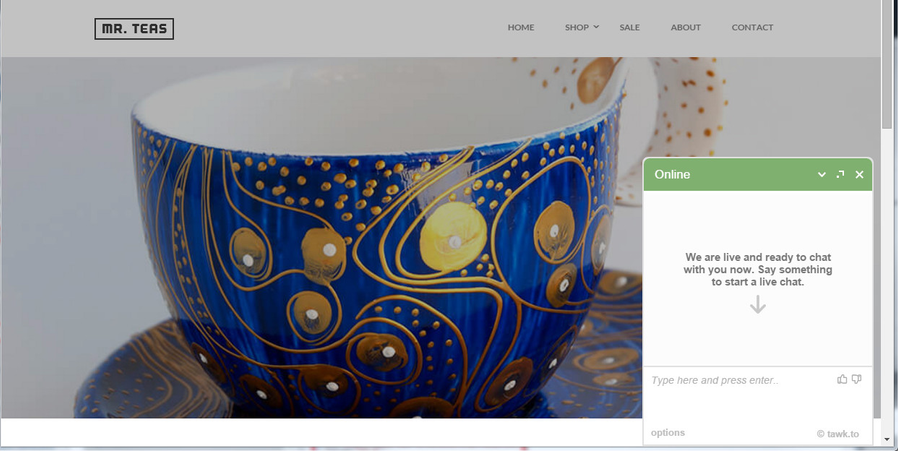
Congratulations, you have integrated Tawk.to Chat into your storefront!