Legacy documentation. Amazon Pay is now offered through Stripe rather than the standalone Amazon Payments Advanced integration described on this page. For current setup instructions, see Amazon Payments. This page is retained for reference only.
This integration is specific to the "Amazon Payments Advanced".
Logging into Seller Central
To log in to Amazon Seller Central go to:
Switching to Amazon Payments Advanced (Sandbox View)
After logging in to Amazon Seller Central you will see a dashboard. The Amazon Seller Central website manages your sales on Amazon.com as well as your Checkout by Amazon. Look at the top navigation bar. If the navigation bar has a drop down that shows www.amazon.com as shown below:

then click the drop down list and select "Amazon Pay (Sandbox)" as shown below:
Amazon Payments Getting Started Guide
Amazon has provided a simple step by step guidance through the configuration process as shown below.
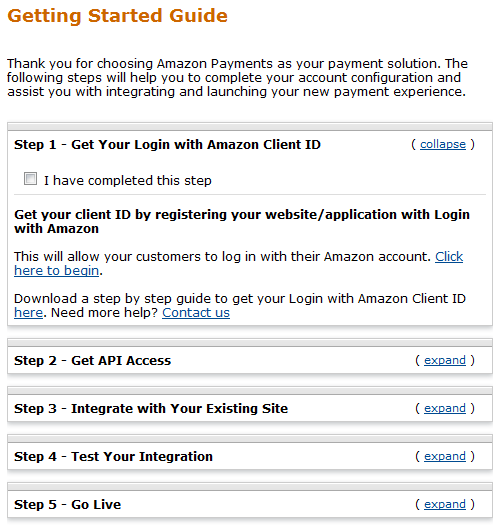
This tutorial will work through each of the steps in their checklist.
Step 1 - Get Your Login with Amazon Client ID
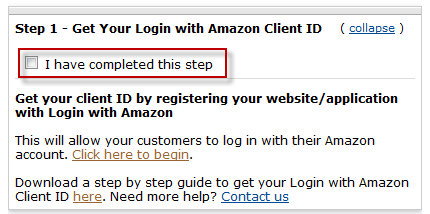
UltraCart does not use Login with Amazon. Click the "I have completed this step" checkbox as shown below.
Step 2 - Get API Access
Click the "+Show" link as shown below.
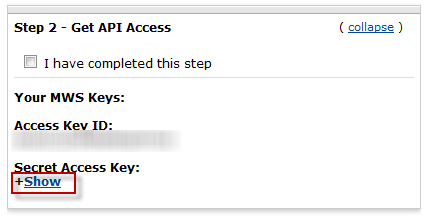
Copy the Access Key ID and Secret Access Key into a temporary text document on your computer. You will need those later on for the UltraCart portion of the configuration. Once you have copied those off, click the "I have completed this step" checkbox.
Step 3 - Integrate with Your Existing Site
At this point we need to look up one more piece of information below going to UltraCart and configuring Amazon Payments. In the upper right corner of Seller Central click Settings -> Integration Settings as shown below.
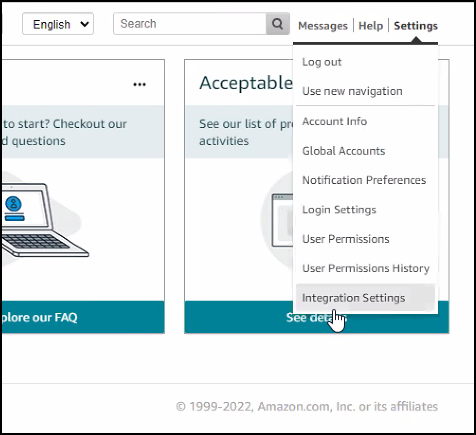
Copy the Merchant ID as shown below into the same text document used in Step 2.
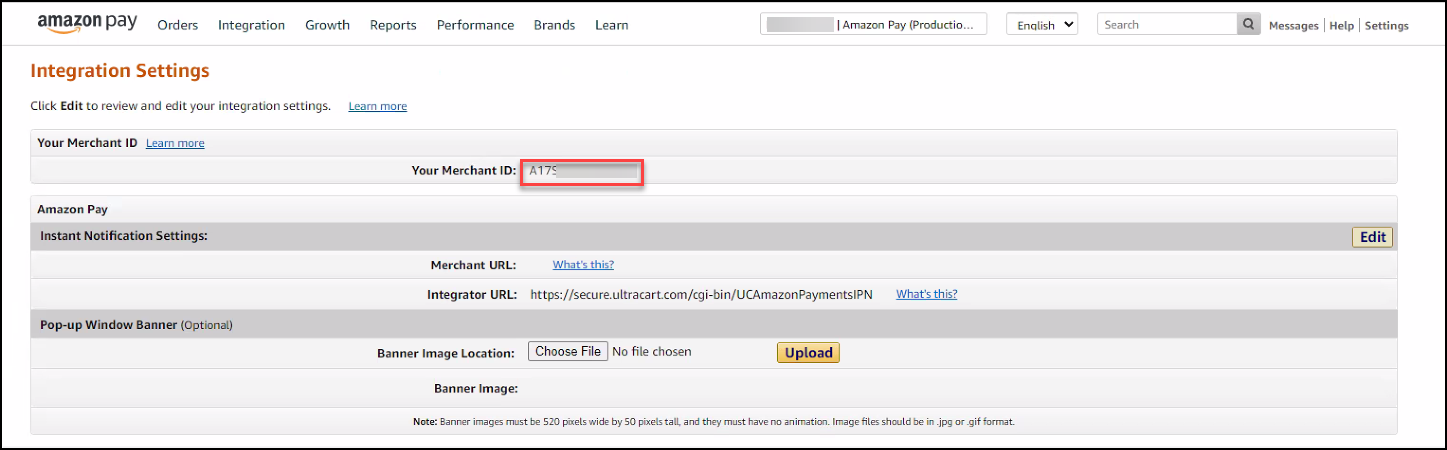
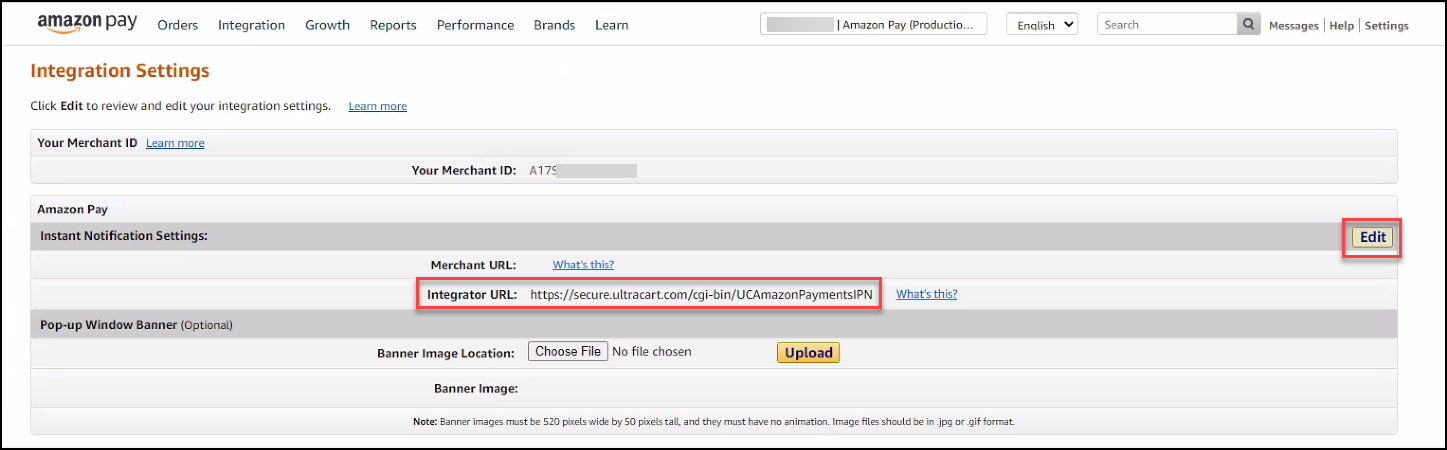
While on the Integration Settings page we can quickly configure the Instant Notification Settings URL. This allows Amazon to proactively notify UltraCart about the flow of Amazon payments through the various stages. Click Edit next to the Integration Settings and then configure the Integrator URL as:
https://secure.ultracart.com/cgi-bin/UCAmazonPaymentsIPN
This URL is case sensitive. We recommend copying and pasting the value into the Amazon field.
After saving the Integration Settings should look like this:
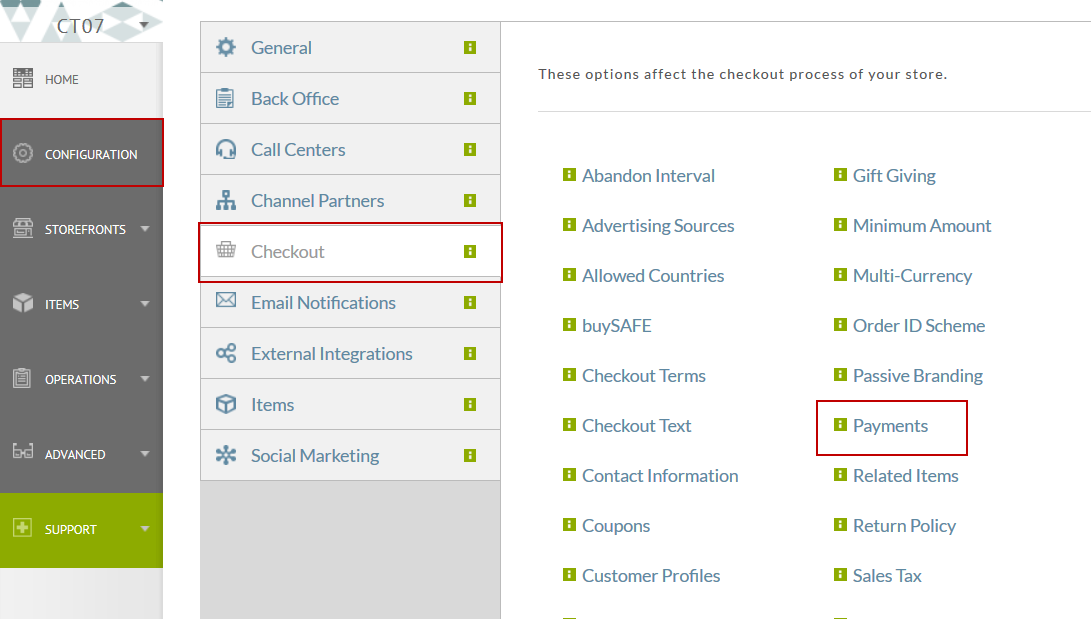
Open another browser window, login to your UltraCart account and navigate to:
Main Menu → Configuration → Checkout → Payments
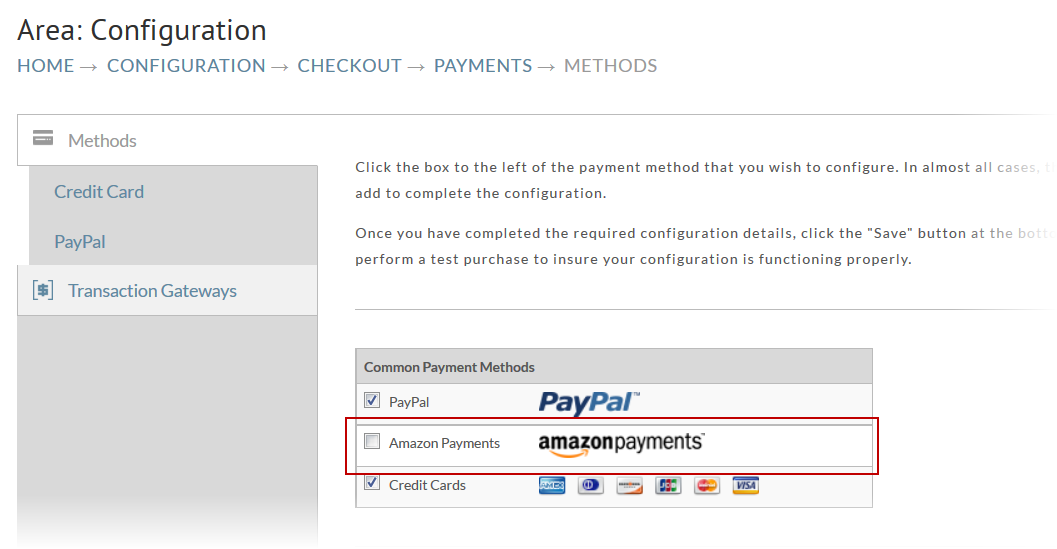
Within the Common Payment Methods Section, check the "Amazon Payments" check box.
Make sure that when copying the credentials into the UltraCart configuration fields that there are no extra spaces in the front or back of the credentials, as this will cause the credentials to fail the validation upon saving. You can copy the credentials into notepad or text editor to make sure that you have no additional whitespace. Then copy into the UltraCart configuration spaces.
Copy and paste the Amazon Merchant ID, Amazon Access Key ID, and Amazon Secret Access Key into the fields provided (shown below). Check the Test Against Amazon Sand Box checkbox. We will perform a test transaction in this tutorial before turning the integration on live.
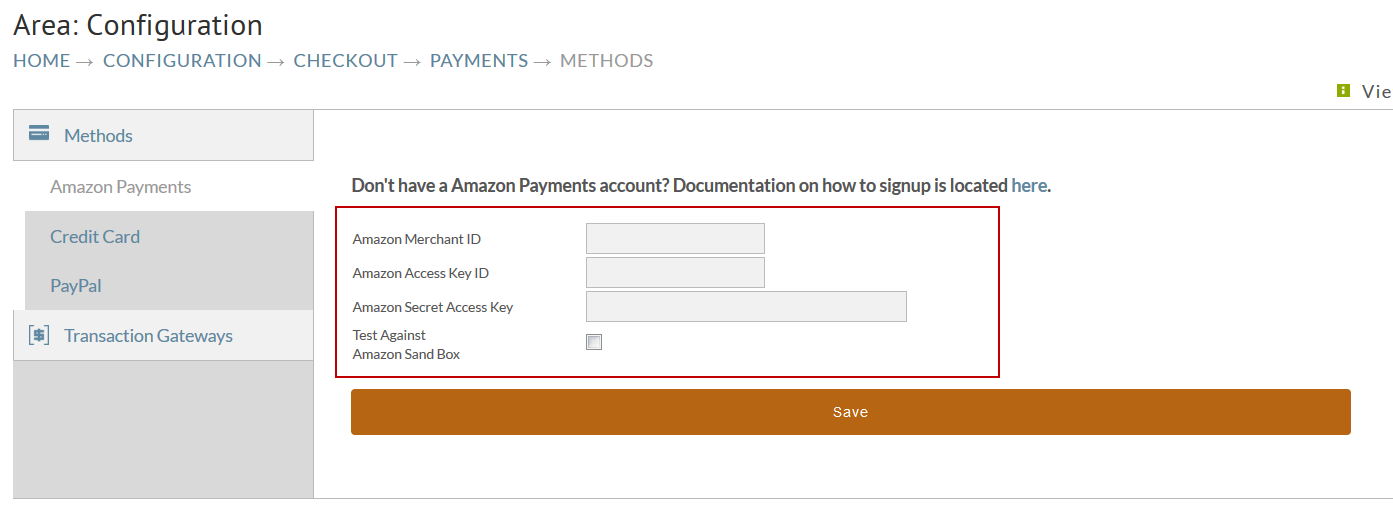
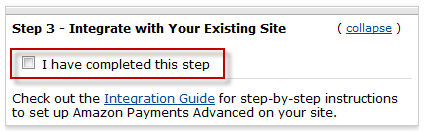
Scroll to the bottom of the page and click Save. At this point you can mark Step 3 as completed in Amazon's setup guide as shown below.
Step 4 - Test Your Integration
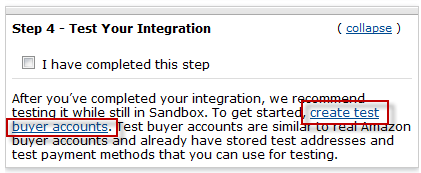
In this step, we will create a test buyer account and use it to purchase an item from our UltraCart store. Click the "create test buyer account" link as shown below.
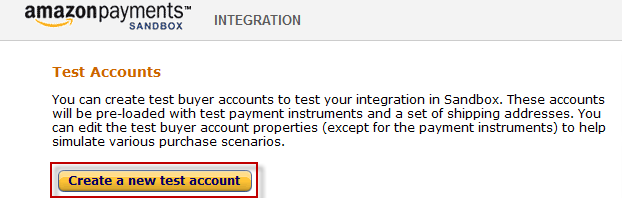
This will open up a new tab in your browser. Click on the "Create a new test account" button as shown below.
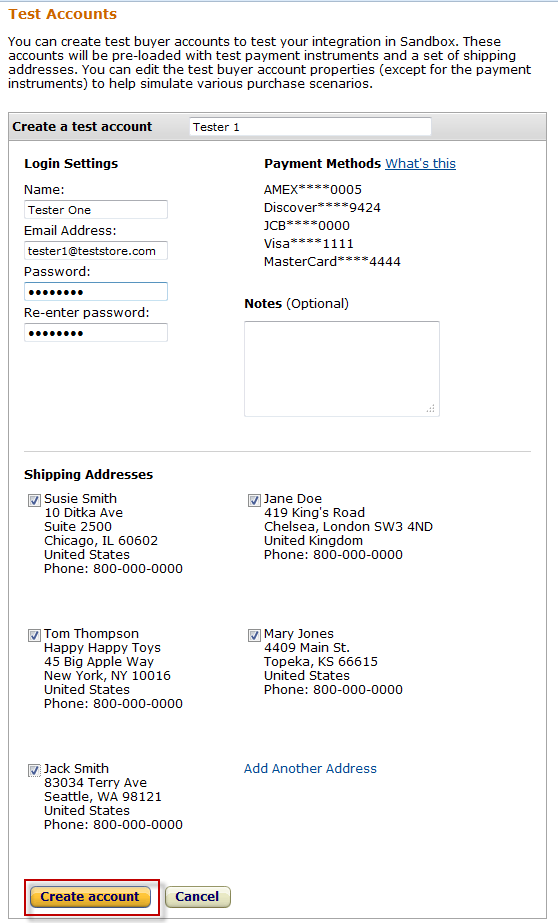
Fill out the form with appropriate information as shown below. We've called this user "Tester 1". We've selected all the addresses from the stock address book for this user as well.
In the screen shown below, make sure to use your own name and email address when creating the test user (leave all example addresses selected.)
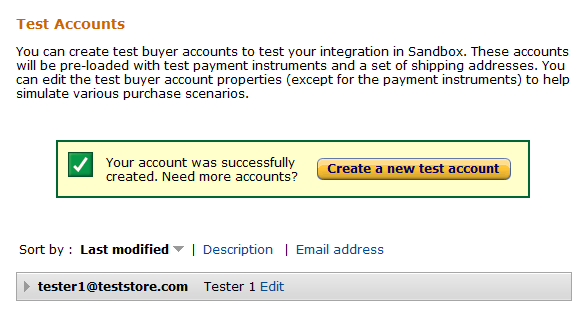
Once you've click the Create account butt, he page should show a confirmation and show the new test user.
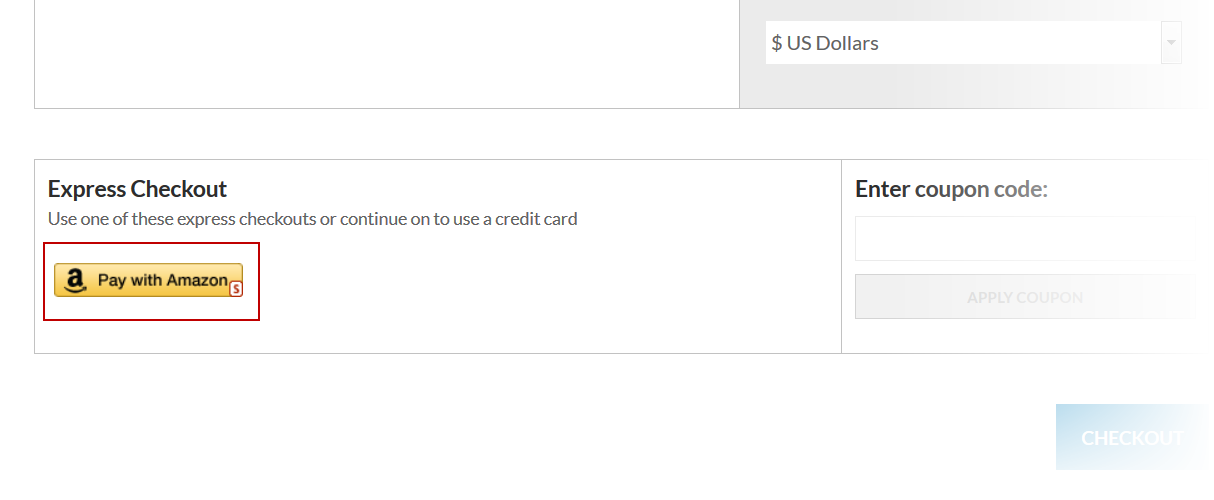
Now we need to add any (non auto order item) from your store to the UltraCart checkout by clicking a buy link. The checkout should now have a "Pay with Amazon" button displayed with a small red S (to indicate SandBox Mode) as shown below.
Click the Pay with Amazon button. A customer login window will appear in as shown below.
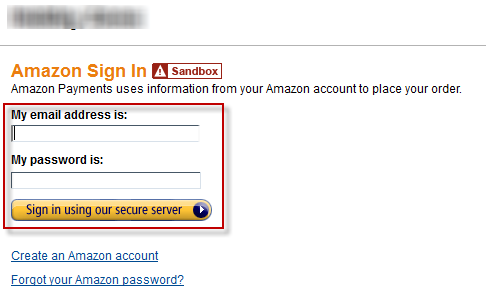
Enter the email and password for the sandbox user configured above and then click the Sign in button. After signing in, the checkout will progress to the shipping address page as shown below.
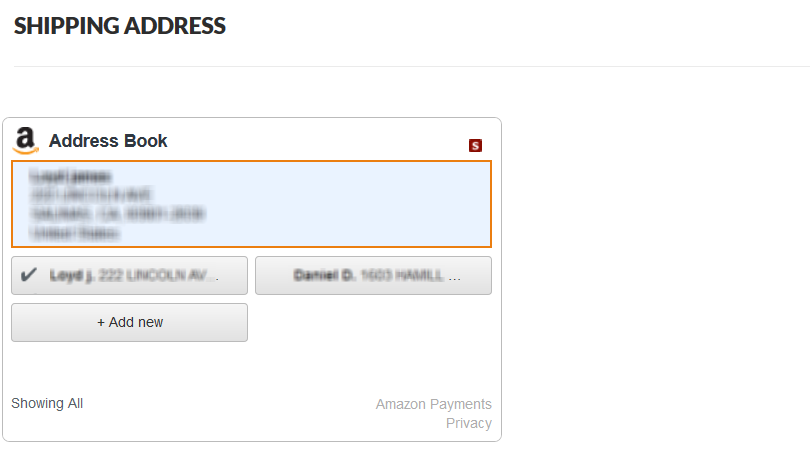
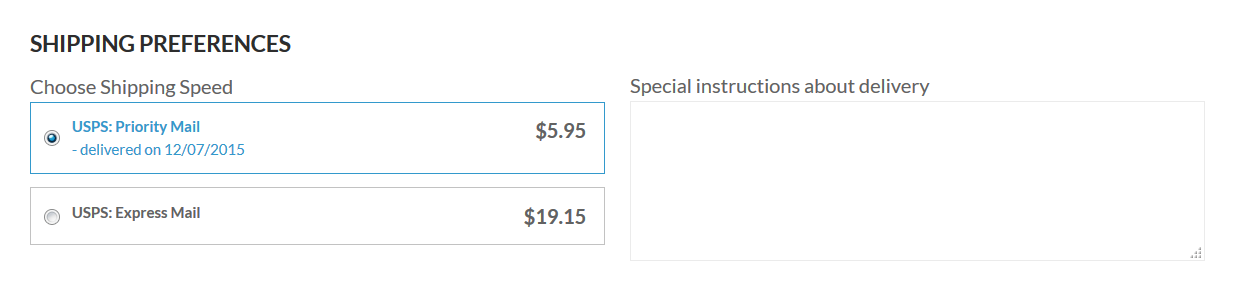
The customer's default address will automatically be selected from their address book. They can choose any other address from their Amazon address book and/or add a new one. Click Continue and the checkout will progress to the options page. Notice that this page does not present payment options since Amazon payments was already selected earlier in the checkout process.
Click the Continue button to progress to the Review page. The customer is shown their selected shipping address and are directed to select a payment method. Their default payment method is already selected as shown below.
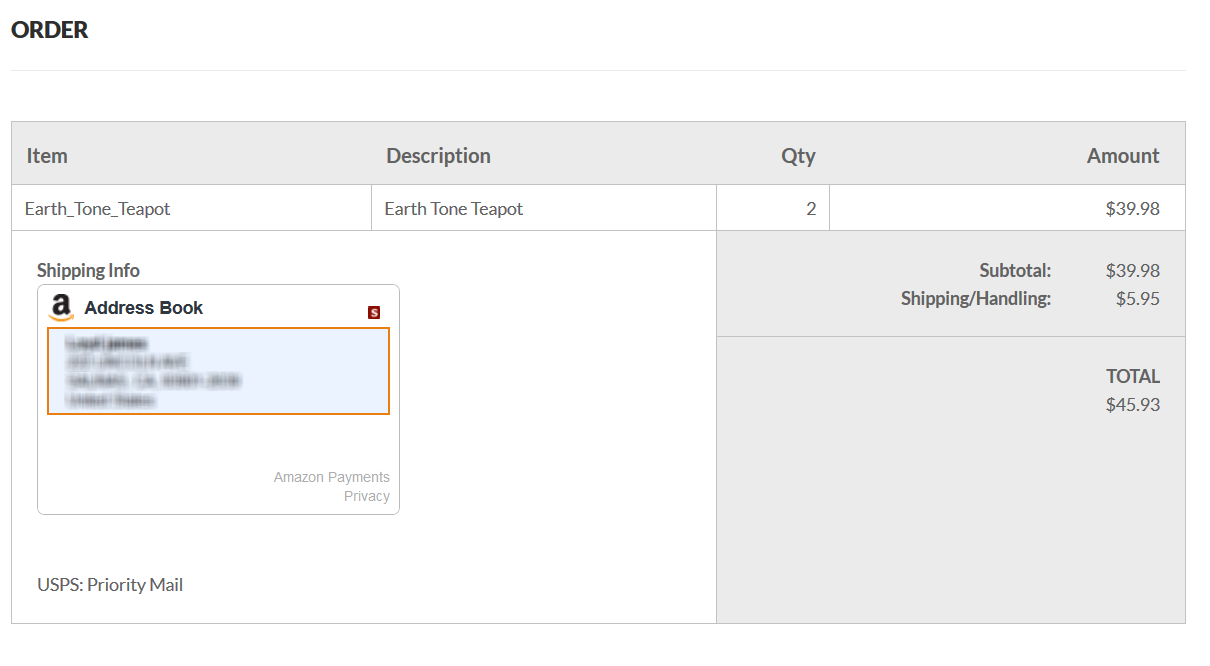
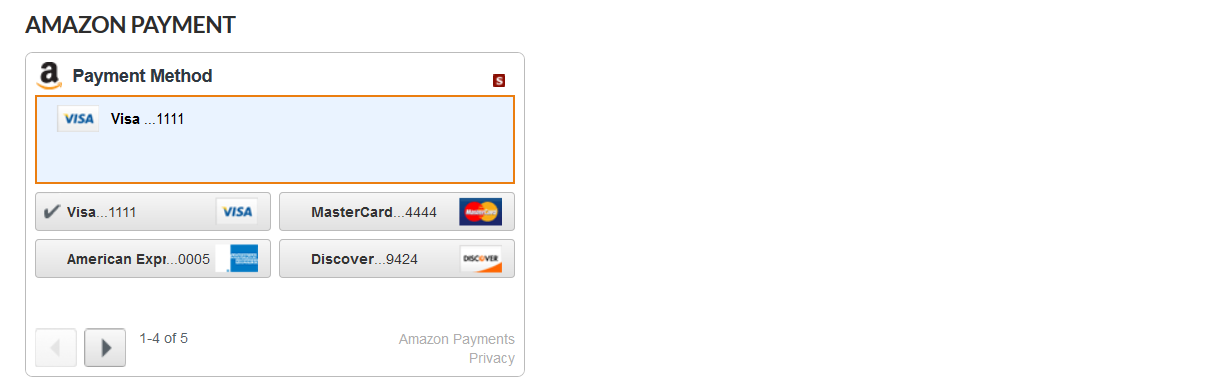
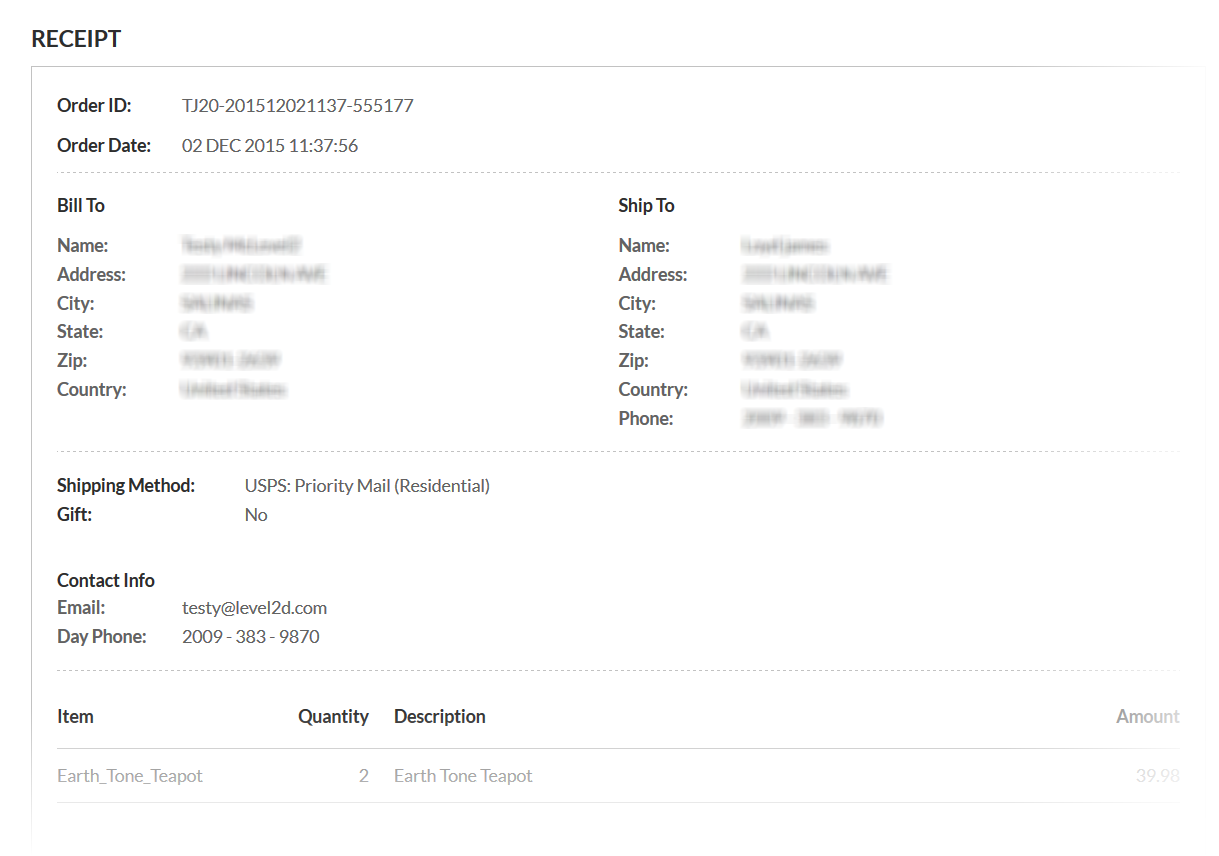
Click the Finalize Order button. UltraCart will communicate with Amazon Payments, initiate the payment and obtain the full address information from the customer. Notice that the receipt has all the customer information filled in.
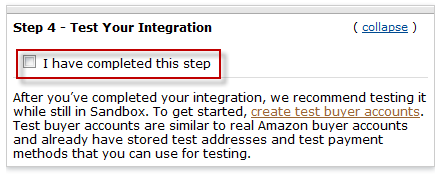
Back on the Amazon Getting Started Guide we can mark off that Step 4 is complete by checking the box as shown below.
Step 5 - Go Live
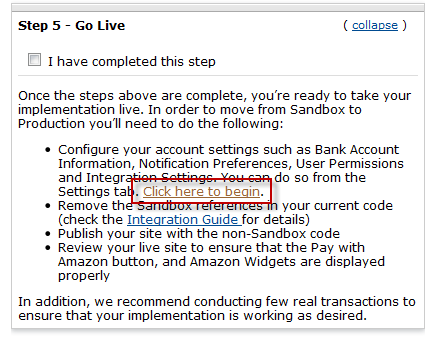
First we need to provide some final information for Amazon to deposit the payments into a bank account. Click the "Click here to begin" link as shown below.
This will open up a new window. Don't be surprised if you need to log in again. Enter your Amazon email & password and click Sign in if prompted. On the Seller Account Information page, complete any of the missing fields. Pay close attention to the sections "Business Profile Amazon Payments" and "Deposit Method".

Click "Edit" on this section.
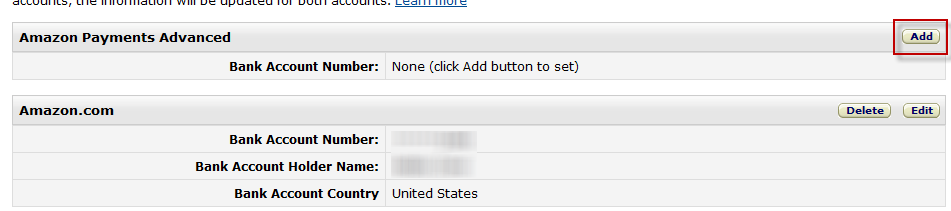
You may already have a bank account on file for sales from Amazon.com. You'll need to click "Add" for the "Amazon Payments Advanced" as shown below.
Select your existing bank account or use the new bank account option to register a new one as shown below.

Now go back into your UltraCart account and turn off the sandbox option under:
Home → Configuration → Checkout → Payments
Uncheck the "Test Against Amazon Sand Box" checkbox as shown below and then scroll down and click Save.
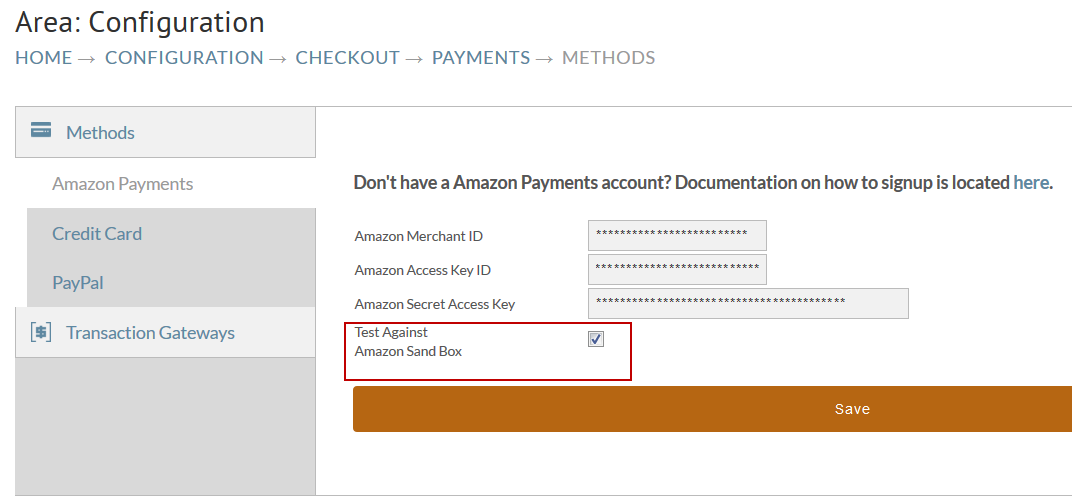
Now mark step 5 as completed by clicking the checkbox shown below.
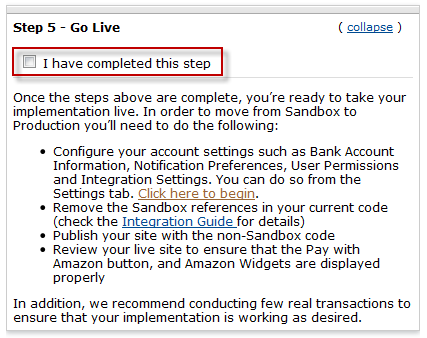
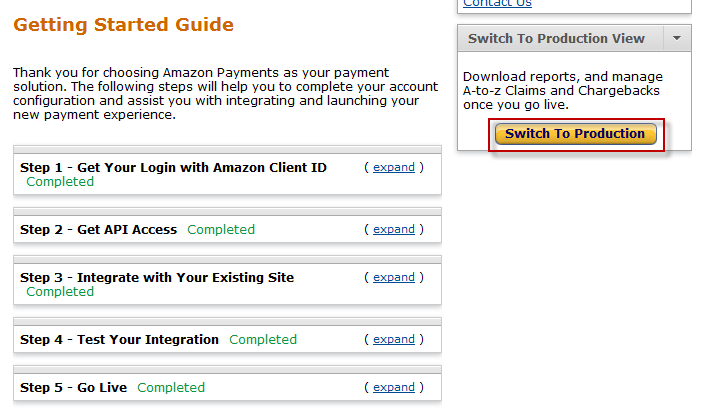
At this point all of the steps should say "Completed" in green. Now click the "Switch to Production" button on the right of the page as shown below.
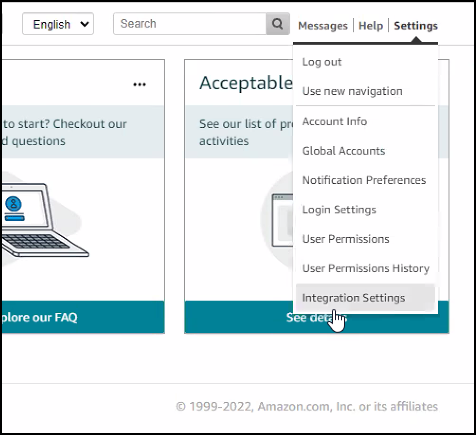
Now that we're in the production mode of Amazon Payments we need to configure the IPN notification URL one more time. In the upper right corner of Seller Central screen, click Settings -> Integration Settings as shown below.
On the Integration Settings page configure the Instant Notification Settings URL. This allows Amazon to proactively notify UltraCart about the flow of Amazon payments through the various stages. Click Edit next to the Integration Settings and then configure the Integrator URL as:
https://secure.ultracart.com/cgi-bin/UCAmazonPaymentsIPN
This URL is case sensitive. We recommend copying and pasting the value into the Amazon field.
After saving the Integration Settings the screen should look like this:
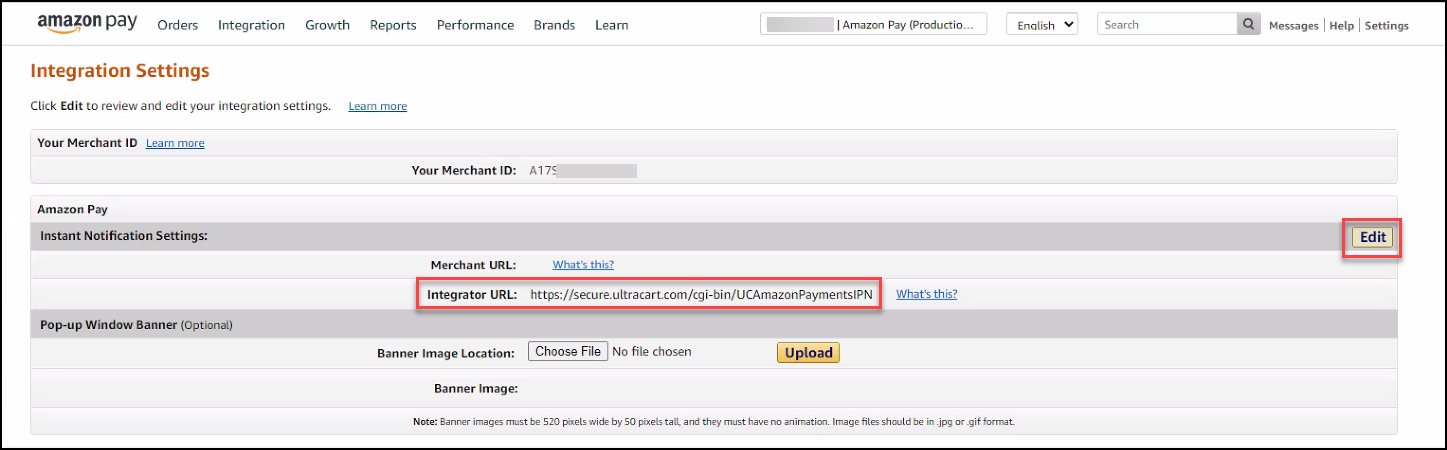
Failure to configure the Integrator URL for Instant Notifications will result in slower processing of Amazon orders on your UltraCart account.
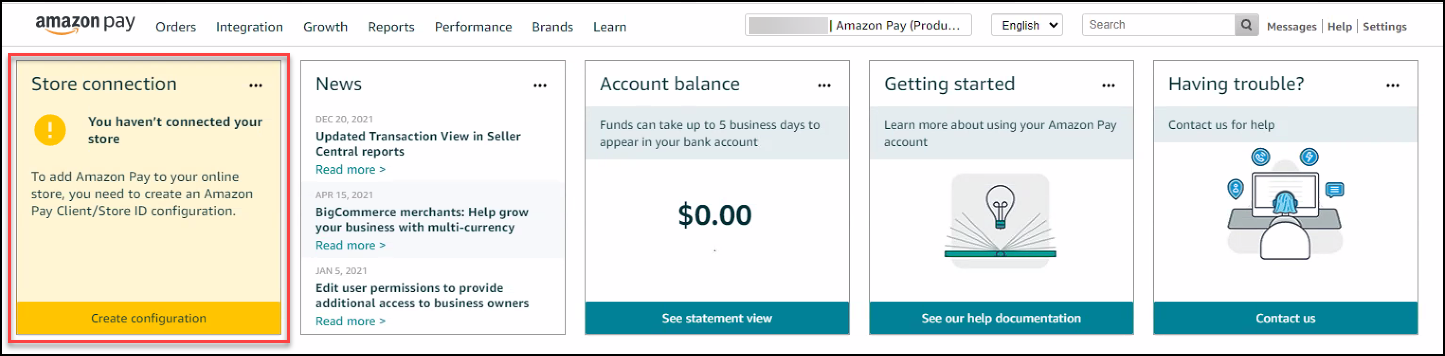
From the dashboard, click on Create Configuration for your Store Connection as shown below.
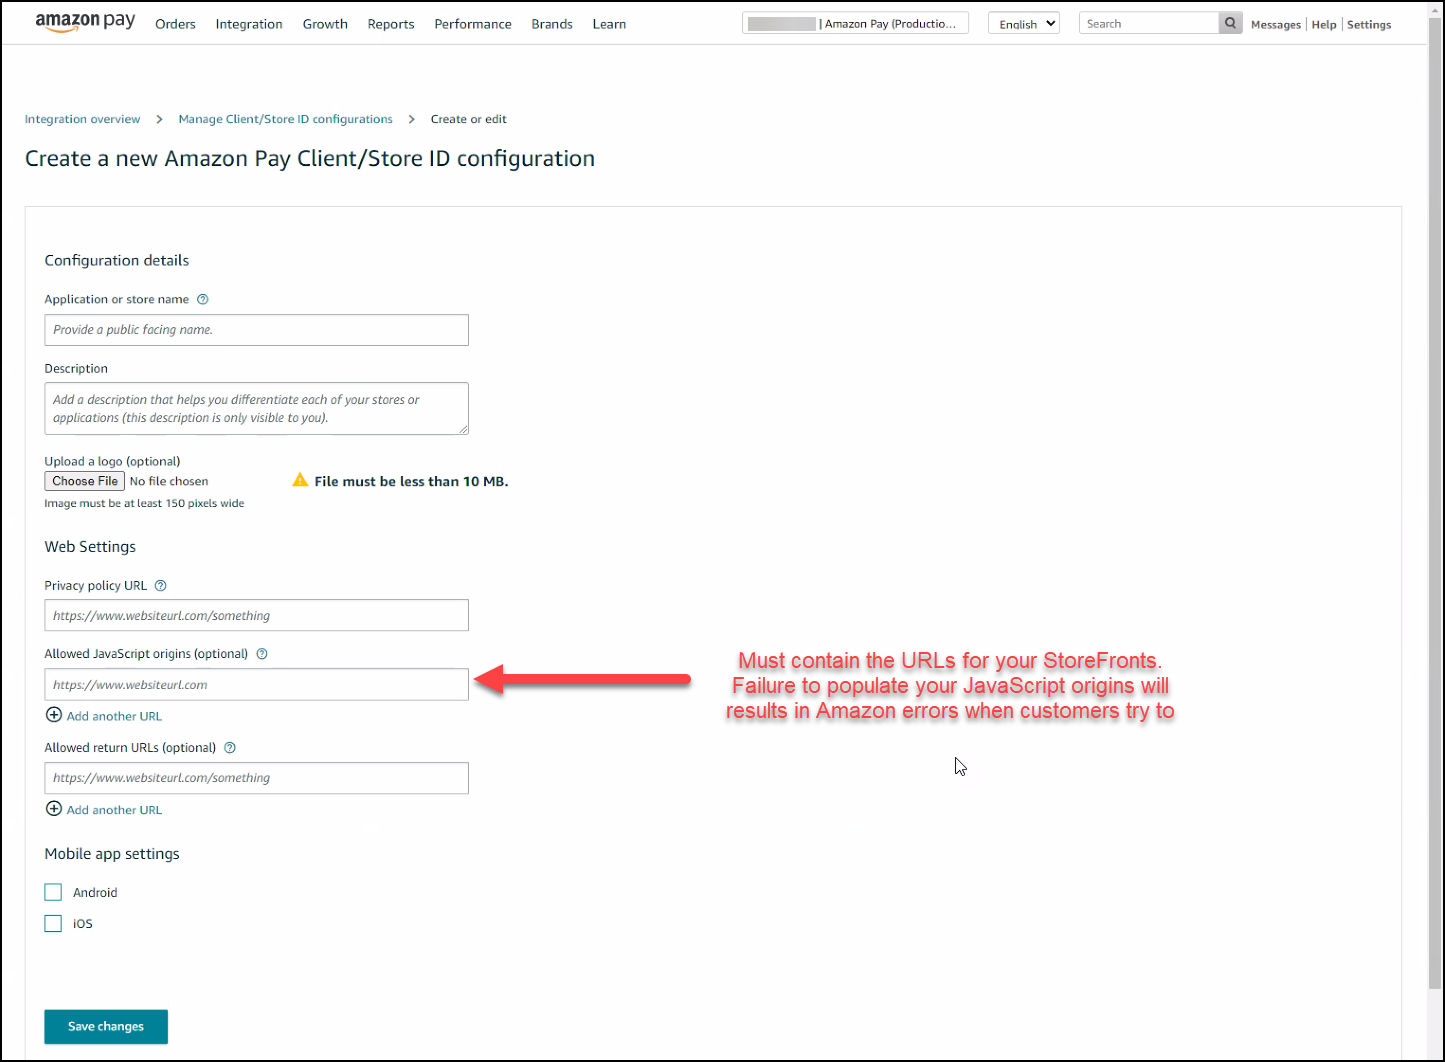
Complete the store configuration. Pay careful attention to the JavaScript origins field and populate that with the URL to your StoreFront.
Troubleshooting Going Live Errors
Error code: InvalidAccessRequest
When testing your Amazon Pay integration with a live transaction you might come across a message that says:
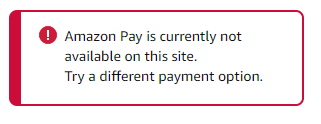
In the details of that message you find the error code InvalidAccessRequest.
To resolve this issue, configure the JavaScript origins on your Store Connection configuration shown above.
Frequently Asked Questions: FAQ about Amazon Payments