Batch Image Import
If you have many images and many items, it can be tedious to upload them one at a time using the Item Configuration Multimedia tab. The Multiple File Upload provides a way to upload many files, then assign them to items.
Adobe Flash 9.0.24+ is required to use this tool.
Summary of Steps
- Upload your files
- Go to Queue page
- Rename filenames (optional)
- Delete unwanted images
- Assign images to Items (there's a fast way to do this...)
- Add descriptions (optional)
- Save Changes
Uploading Files
Navigate to:
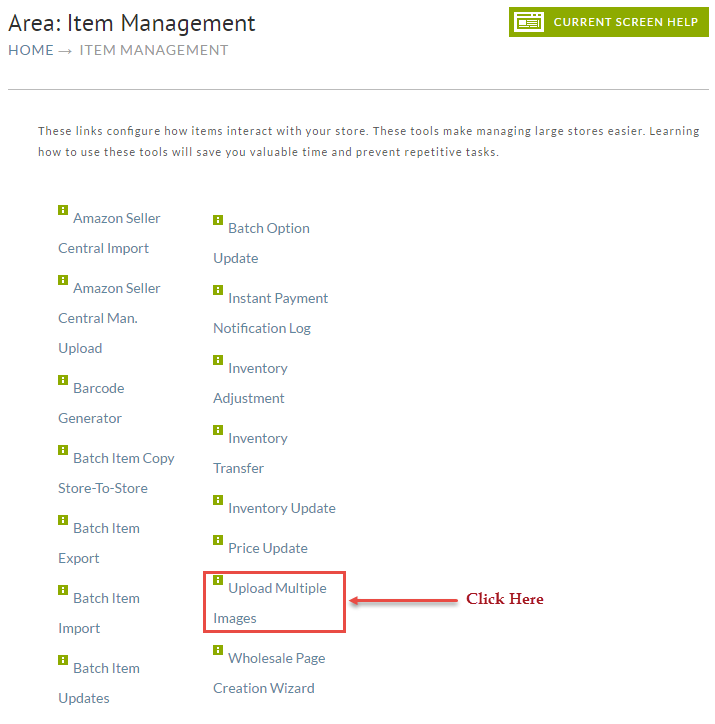
At the Tools screen, click the Upload Multiple Images Button
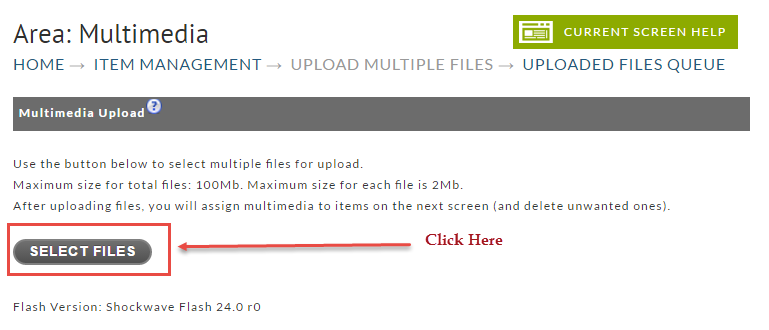
Click the Select Files button shown in the picture below.
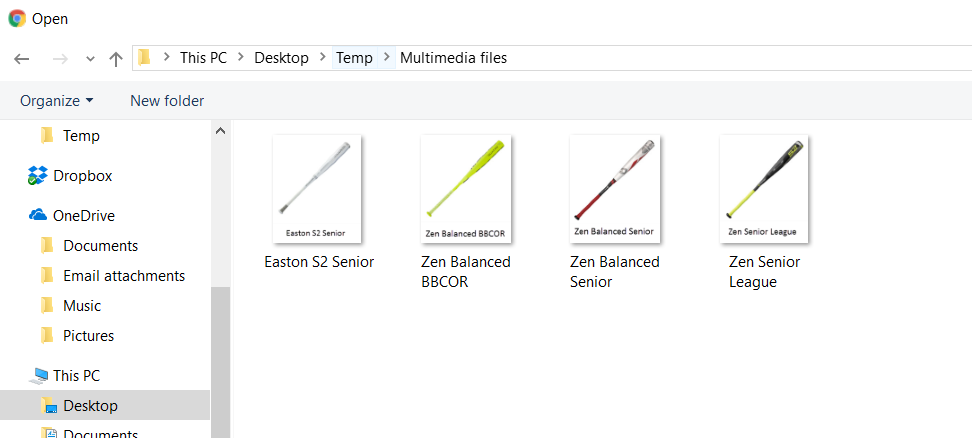
You may select one or multiple files to upload. The following shows the files before selecting.
This screen shows files selected for upload. We simply did a "drag to select".
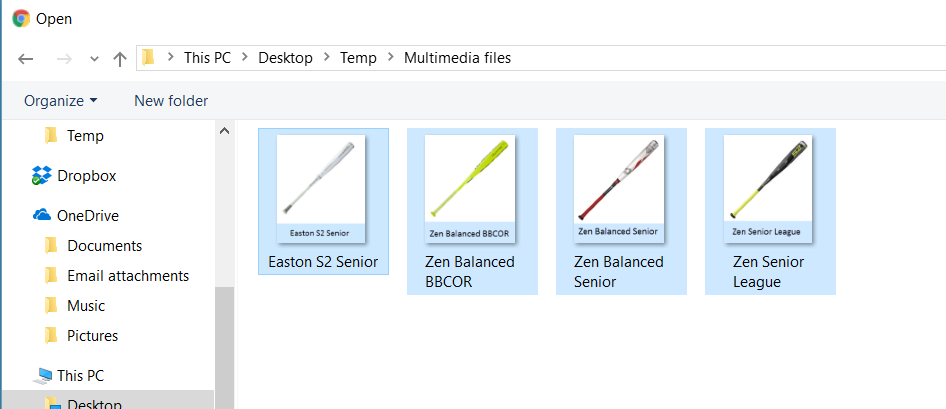
When you click the OK or Open button, the files will automatically upload.
When the files finish uploading, statistics will display along with a link to the Queue page. Click it to begin assigning files to items.
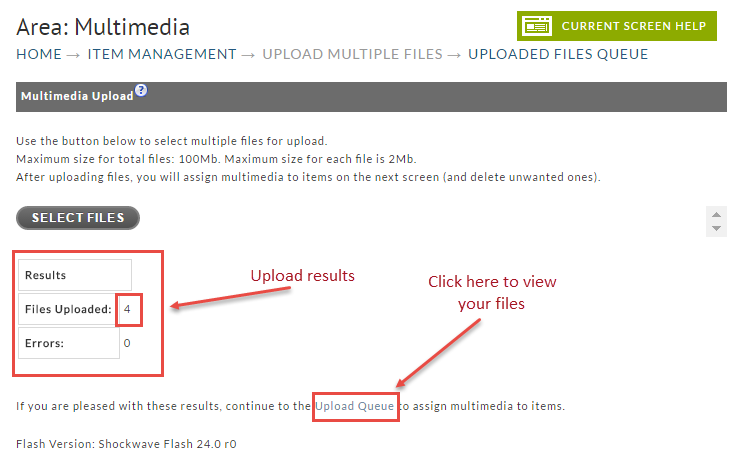
The flash tool that uploads files works well, but it does have practical limits. Up to 100-150 images seems to work okay. Above that, and the flash tool is prone to doing nothing. So, if you've selected hundreds of files and the page doesn't seem to be doing anything, back off and try uploading a smaller number.
Assigning Files to Items
As mentioned above, you can click the Upload Queue link (see image above) while still in the Multimedia Upload Tool to manage the files immediately after upload. But, if you had to leave the tool and come back later to process your uploaded images; navigate to:
Main Menu → Items → Tools → Upload Multiple Files → Uploaded File Queue (Link)
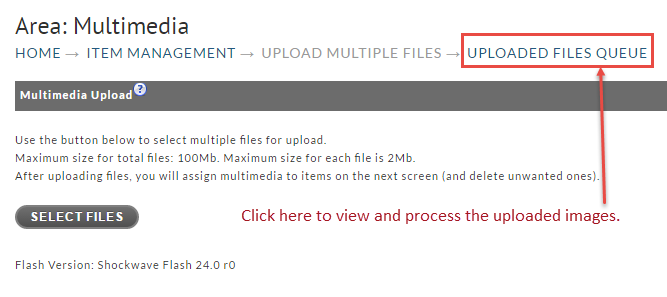
Clicking the UPLOADED FILES QUEUE, will open the Queue page.
Assigning Images to Items
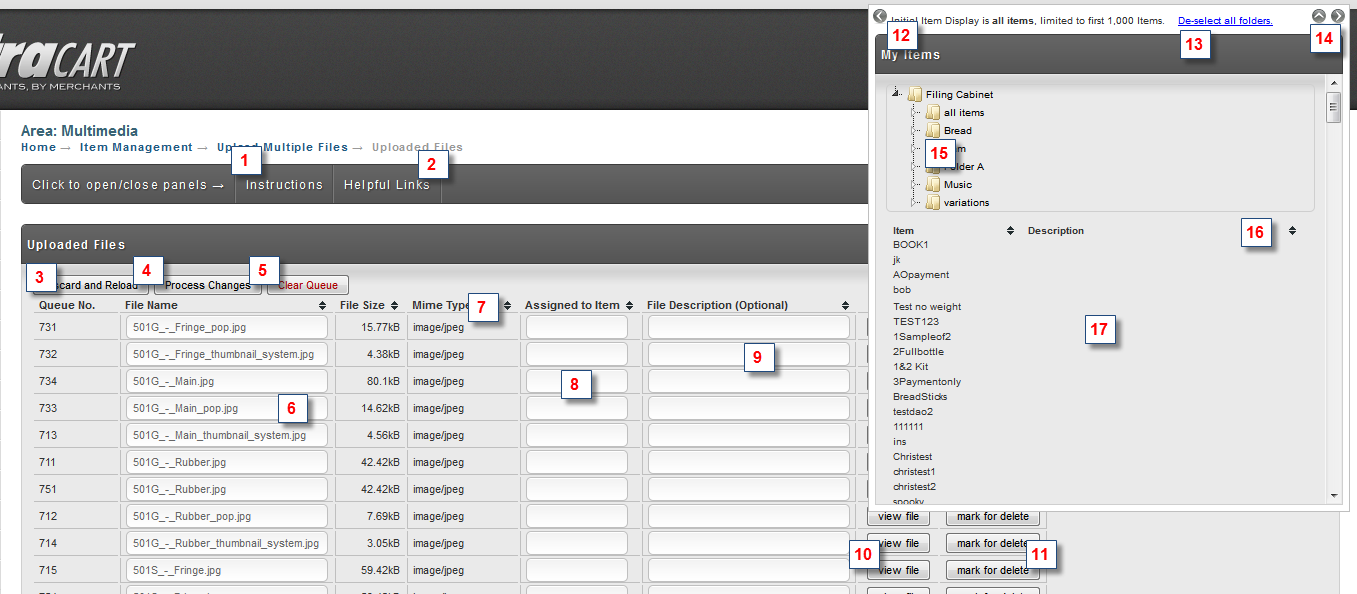
The Queue page is built for speed. There's a lot of interactive features to hopefully make the experience a good one. Below is a screenshot of the queue page with numbered features. Notice there is an Overlay page showing your Items. Please review the screen shot below carefully, and then read through the feature list.
Please see the instructions at the bottom for rapid assignment. They must be done in a specific order for the assignment to work. 
| Feature No. | Feature | Comment |
|---|---|---|
| 1 | Instructions Tab | Click to open the Instructions Panel |
| 2 | Helpful Links Tab | Click to open the Helpful Links Panel |
| 3 | Discard and Reload Button | This will discard all changes you've made and refresh the page. |
| 4 | Process Changes Button | Click this button when you've finished assigning and deleting all the files. You don't have to process every file at once. Unprocessed files will remain in the queue. |
| 5 | Clear Queue Button | Deletes all files in the queue. Handy when you want to wipe out and start over. |
| 6 | File Name Field | You may edit the file name (optional) |
| 7 | Table Sorting Arrows | Clicking the arrows will sort the files in the column clicked. |
| 8 | Item Assignment Field | Enter a valid item id here. |
| 9 | File Description Field | Add a description (optional) |
| 10 | View File Button | Click to view a pop-up of the uploaded image. |
| 11 | Mark for Delete Button | Clicking will mark a file to be deleted from the queue. |
| 12 | Left Arrow | Moves the item list to the left side of the screen. |
| 13 | De-select All Folders Link | Removes any folder filtering that may be in effect. |
| 14 | Up Arrow & Right Arrow | Up arrow hides the list, Right arrow moves the item list to the right side of the screen. |
| 15 | Folder Tree | Select a folder to filter the item list. |
| 16 | Table Sorting Arrows | Click an arrow to sort the table by Item ID or Description |
| 17 | Item Table | A list of items. If you select a file row first, clicking an Item row will assign that item to the file. |
Rapid Item Assignment
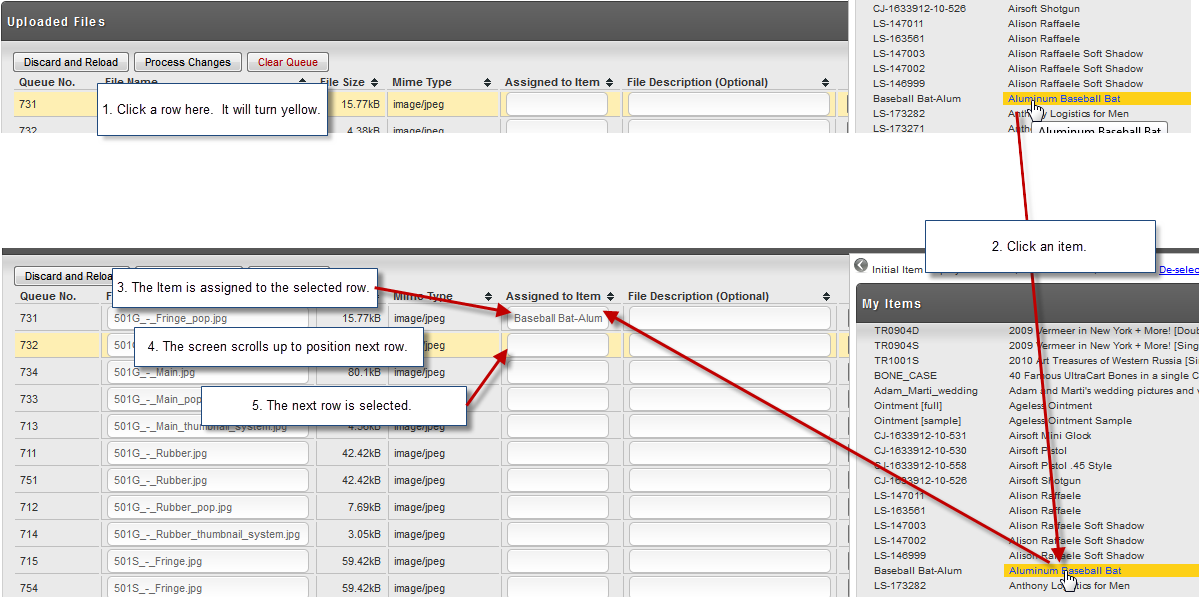
To rapidly assign items to files, perform the following steps. This works well if your files are named something close to your items so that they're sorted relatively similar.
1. Click on a file row. It will turn yellow.
2. Click on the appropriate item in the fixed list at the right.
3. The screen will scroll up to position the next file near the top of the screen, and it will be selected.
4. Click on the appropriate item for that row.
5. The screen will again scroll up and select the next item.
6. Continue until all files are assigned (to your satisfaction).
End