Overview
This document will provide instructions for integration of Stamps.com with your UltraCart account.
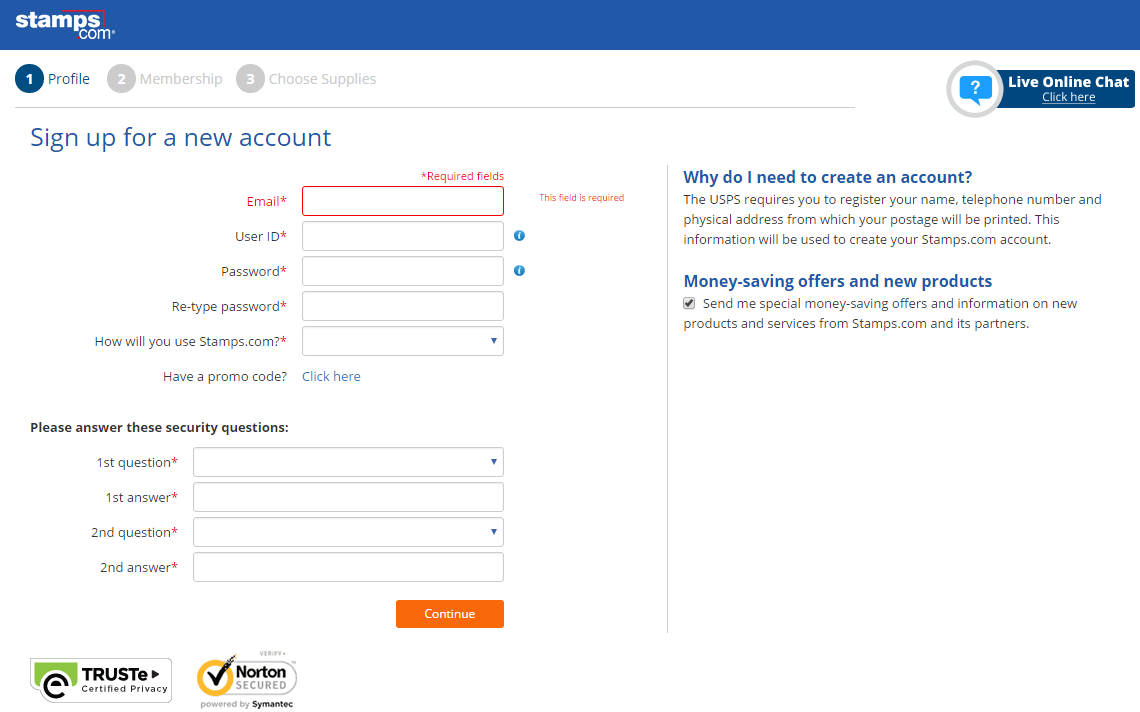
Signing up for your Stamps.com account
You'll need to create a stamps.com account in order to use it, so if you have not already created your account you can do so here:
https://registration.stamps.com/registration/
Integration Options
There are two integration options for Stamps.com:
- API Integration
- Desktop Application (Legacy integration option)
The recommended integration option is the API integration.
If the Stamps integration is not assigned, you'll see a warning message at the top of the integration like this:

To assign "Stamps.com" the "Active Label Provider" drop-down list in the "Printing USPS Postage" section:
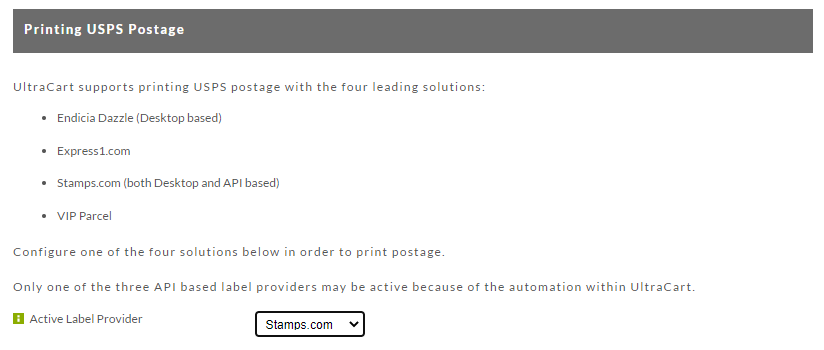
Make sure to save the changes after selecting Stamps.com in the drop-down list!
API integration
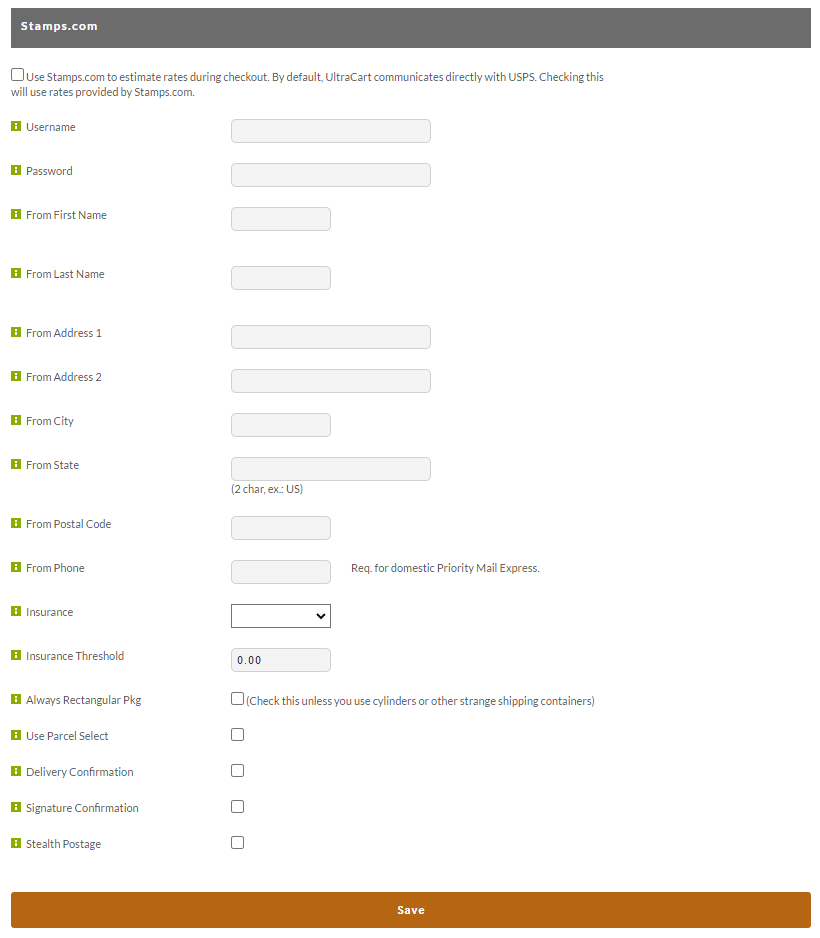
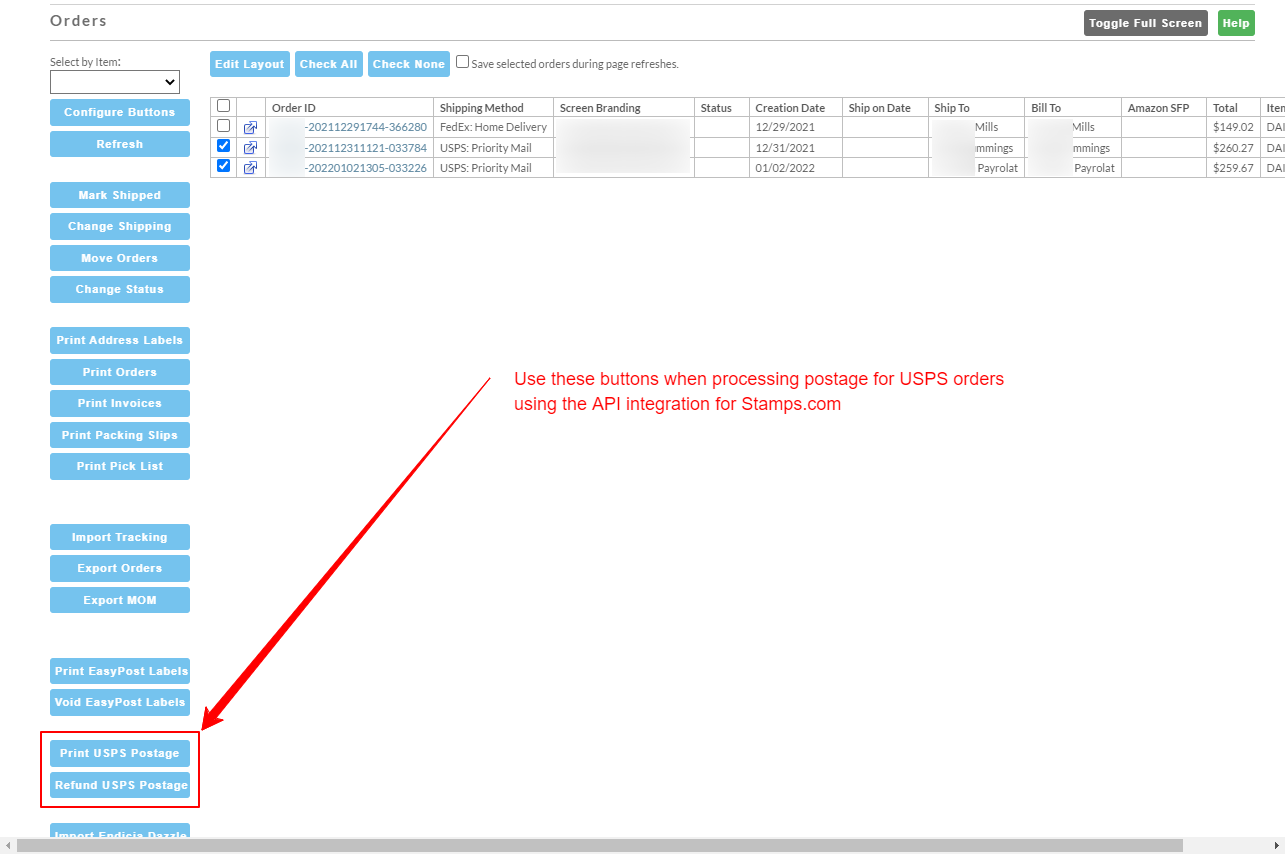
The API version works with the "Print USPS Postage" and "Refund USPS Postage" buttons in the order management shipping department view.
The "Import Stamps.com" and "Export Stamps.com" buttons are for use with the legacy/desktop integration.
Desktop (Legacy Application)
Downloading the Stamps.com application
After you have created your account, you'll need to download and install the Stamps.com application on your computer.
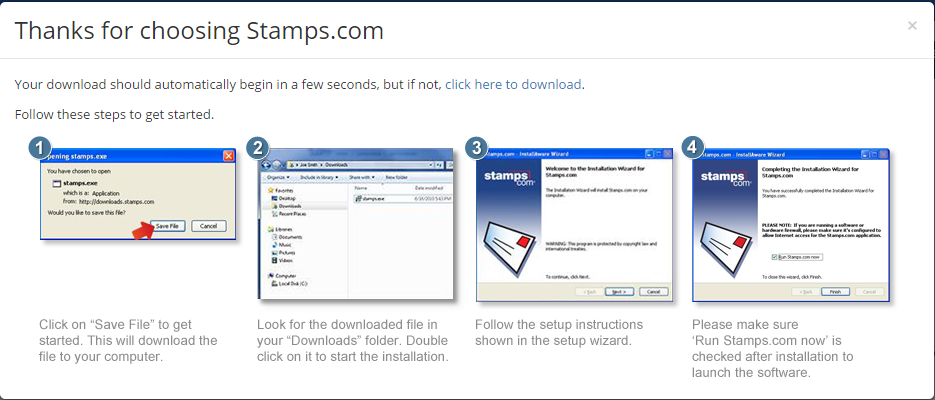
Located the downloaded order then double click the "Stamps.exe" file. you'll be presented with a series of installation dialog windows:
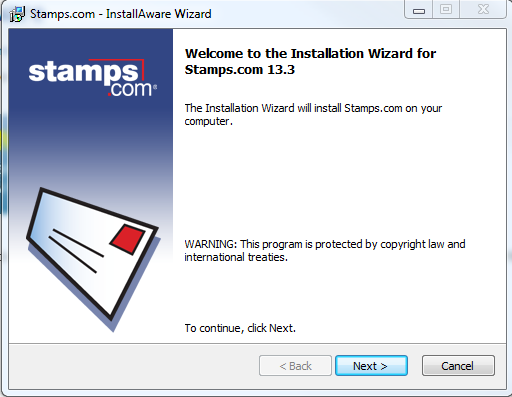
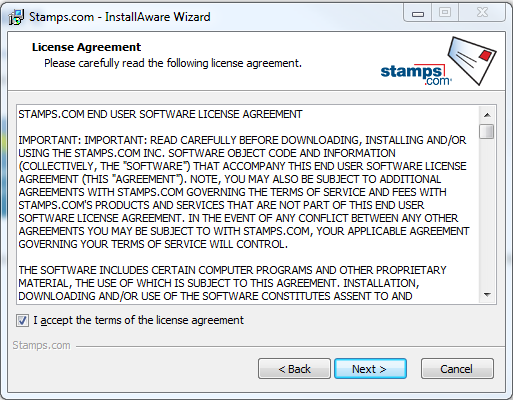
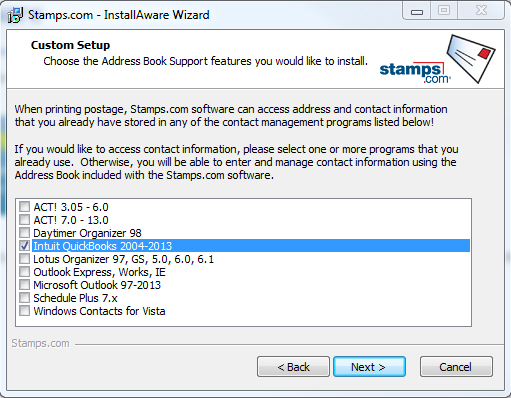
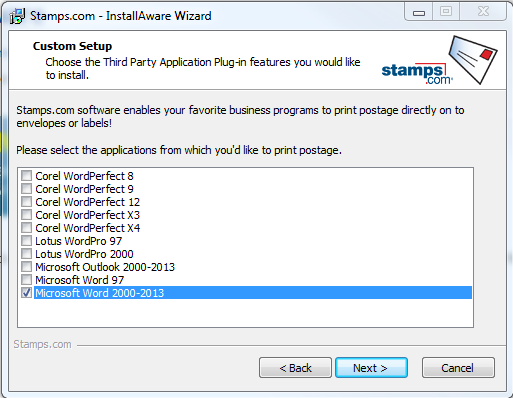
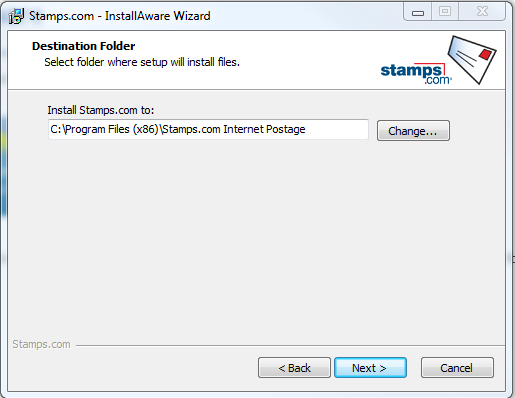
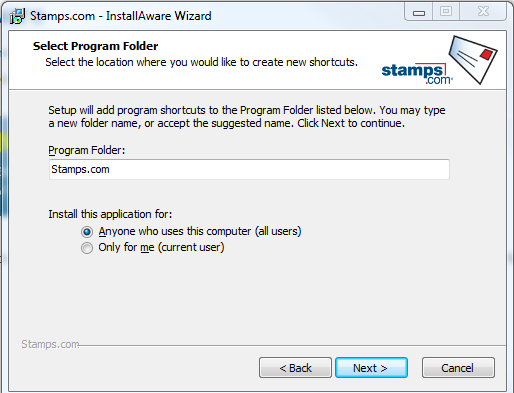
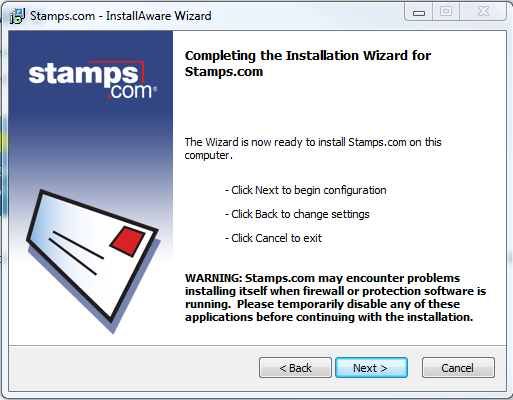
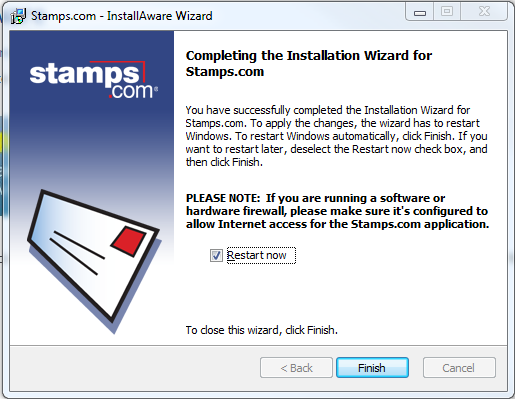
Running the Stamps.com application
Now that the application is installed, let's open the application.
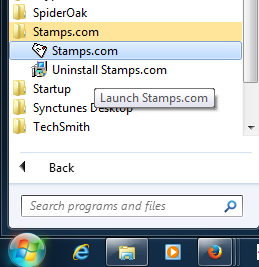
Navigate to your start menu and then click on all programs then click on stamps.com then click the stamps.
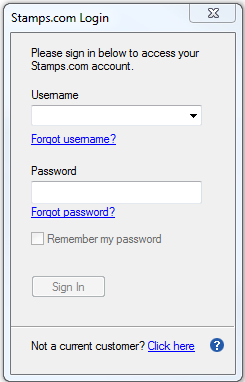
Stamps.com application will prompt you to log into your stamps.com account:
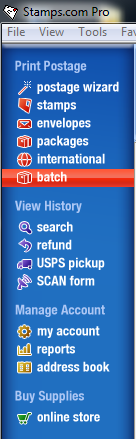
After successfully logging into your stamps account you'll need to click on the menu option"Batch":
Next your be presented with a series of dialog windows.
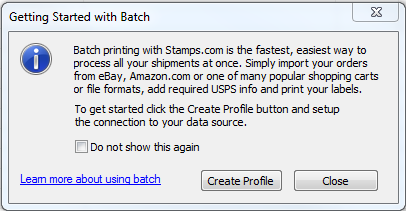
In the first dialog window, click the "create profile" button and you'll be presented with the "Choose Data Source" dialog window:
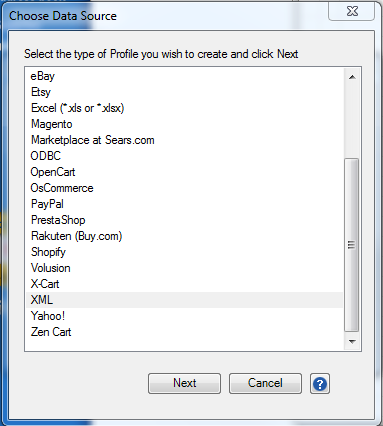
Scroll down the list and select "XML" the click the next button.
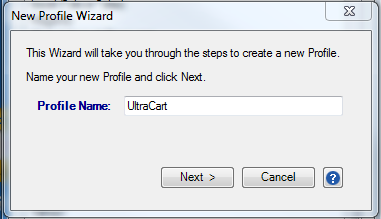
You're prompted to name your profile, you can name it 'Ultracart', then click the next button. You'll be presented with the 'Profile Options' Dialog window.
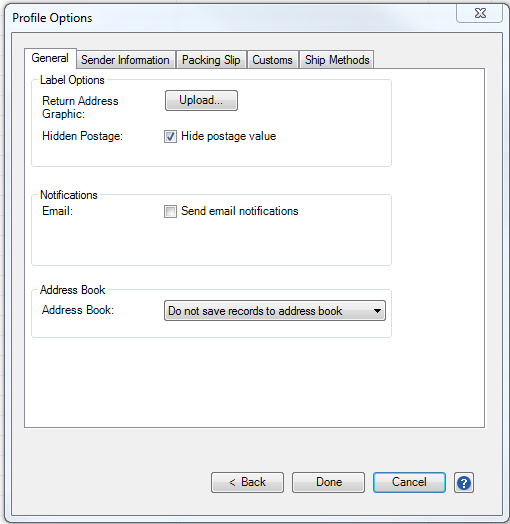
The profile dialog tabs allow you to further pre-define specific details regarding:
Sender Information, Packing Slip, Customs, and ShipMethod rules.
After saving the 'Profile Options", you'll be presented with the 'Manage Profiles' dialog window:
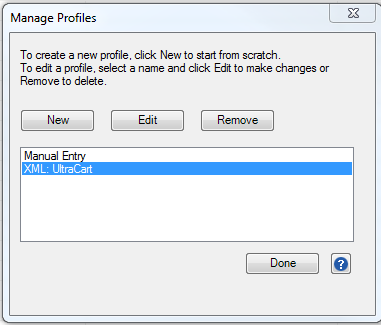
Select the newly configured 'XML: UltraCart' profile, then click the 'Done' button.
Now we are ready to confugure the Stamps.com configuration section inside UltraCart.
Configuring UltraCart Stamps.com details in UltraCart
Log into your UltraCart account and navigate:
Home → Configuration → (middle menu) Checkout → Shipping → (middle Menu) USPS → Scroll down to Stamps.com (section)
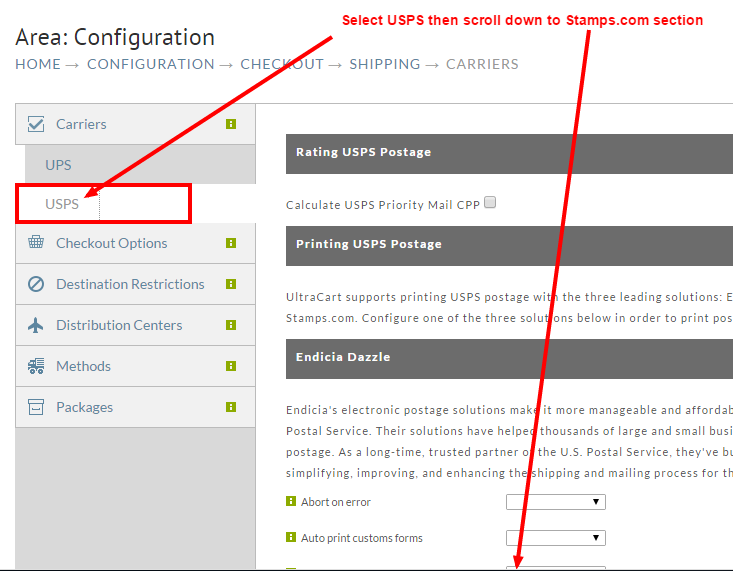
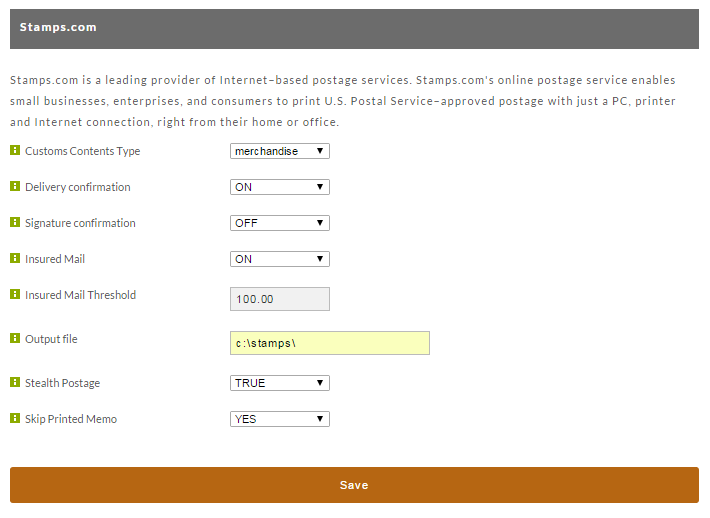
Click the green "i" for the form field details and configure with your desired settings, then click the save button.
The options are very similar to the Endicia Dazzle configuration. Below is an explanation of each option.
| Field | Description |
|---|---|
| Customs Content Type | The type of merchandise that you are shipping internationally. The default value is commercial sample unless something else is chosen. |
| Delivery Confirmation | If you want tracking on your USPS packages (typical), set this to yes. |
| Signature Confirmation | If you need proof of delivery, set this to yes. A signature is usually required to successfully fight chargebacks by customers claiming non-delivery. |
| Insured Mail | If you want insurance than select how you want to insure it. Most merchants find that insuring through Stamps.com is more cost effective and an easier claims process than the postal service. |
| Insured Mail Threshold | The value of the shipment after which insurance is added. Some merchants only insure shipments of $100 due to the risk/reward. |
| Output File | The path to where Stamps.com should produce the output file (that contains tracking number). If you're interacting with Stamps.com through the web interface and batch files then you will want to configure this path so the output file is always at a predictable location. |
| Stealth Postage | This option masks the amount of postage on the label. This is very important to set if you charge higher shipping or handling fees. Almost all merchants turn on stealth postage. |
| Skip Printed Memo | Set this to Yes to skip the printed memo on the label. |
Now that we have configure the stamps.com settings, we are ready to process orders residing in your shipping department.
Processing Orders
The Shipping department will have two buttons related to the stamps.com postage processing for the API and two other buttons for use with the legacy/desktop integration.
API View:
Legacy/Desktop View:
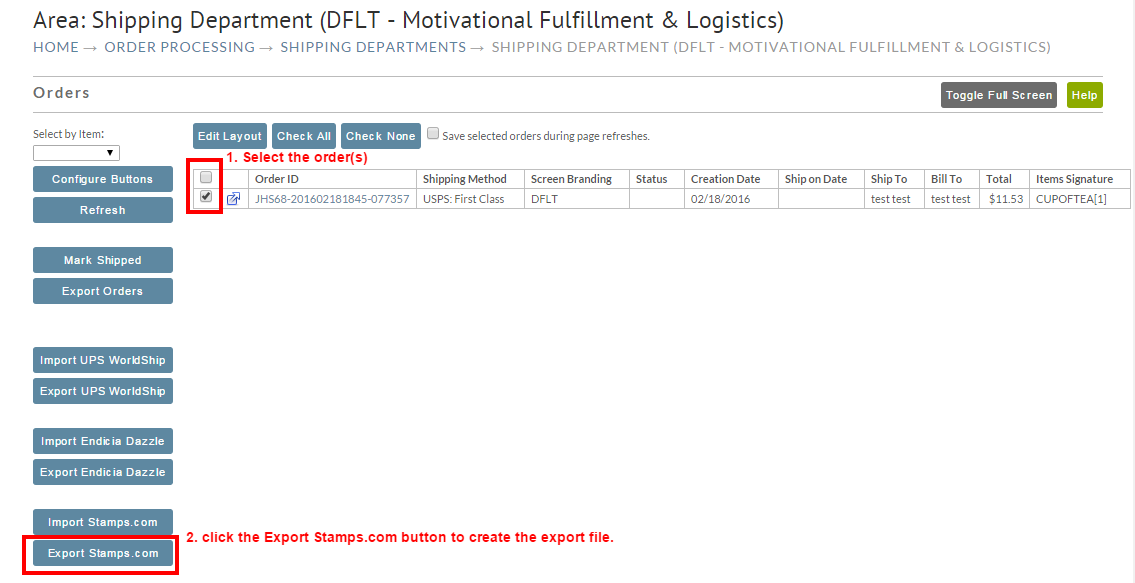
The "Export Stamps,com" & "Import Stamps.com" buttons will appear at the bottom of the list of buttons along the left side of the page.
First select the orders that you will be exporting to stamps.com to generate the postage, then click the "Export stamps.com" button.
An XML file titled "ultracart-import.xml" will be created and downloaded to your web browsers download directory.
The keystroke combination 'Cntrl+J' will open the download window in most web browsers.
After the "ultracart-import.xml" file has been created, you are ready to run the stamps.com application.
Sign into your stamps.com account, then from the main menu click the "batch":
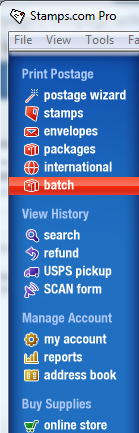
Then Click the 'Import Orders' button:

You should see the imported orders appearing like this:
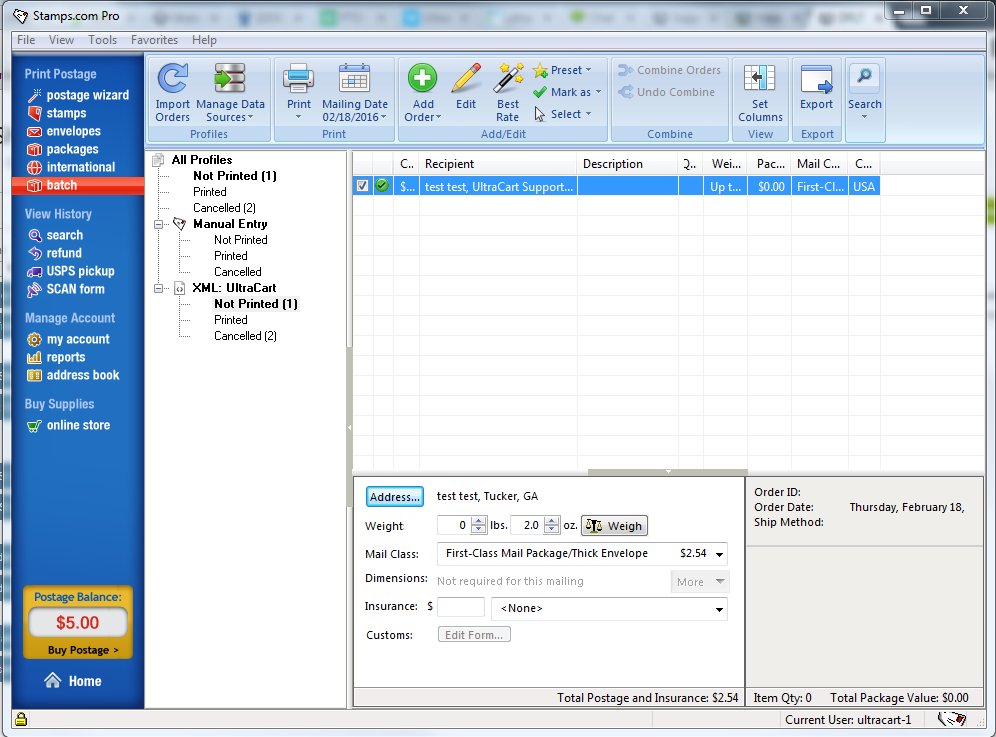
At this point you are ready to generate the postage by selecting the order(s) then clicking
 the 'Print' button.
Updating the shipments in UltraCart with tracking details
After you have completed the purchase and printing of the postage labels, click
 the Export Button and the 'ultracart-import.xml file will be created and placed into the directory you had earlier configured
in the Stamps.com section of the USPS area of the shipping configuration.
Log back into your UltraCart and navigate to your Shipping department:
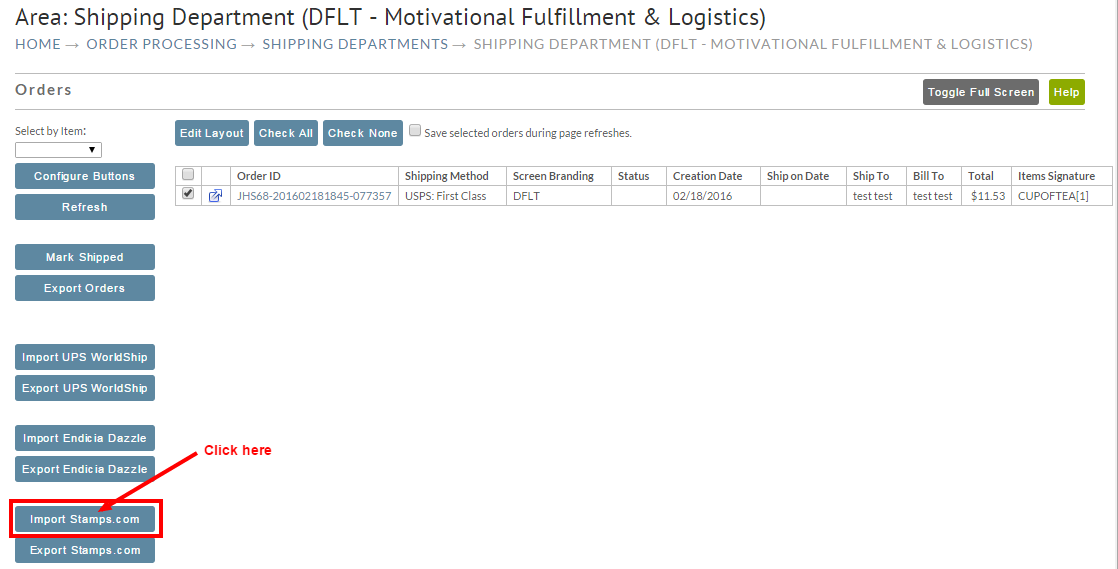
Click the 'Import Stamps.com' and you will be prompted to browse and select the file:
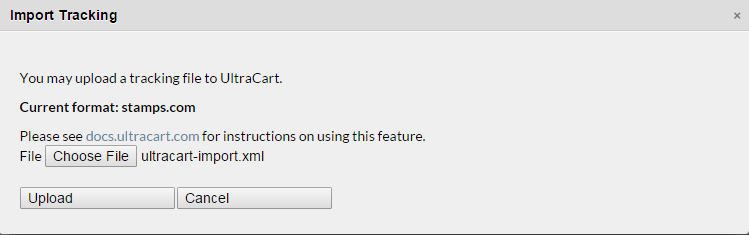
After selecting the file click the 'Upload' button and you'll them be presented with the an dialog window like this:
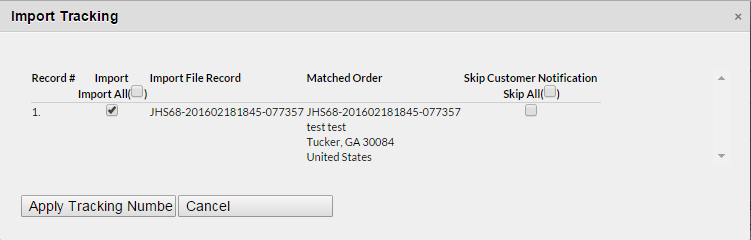
You can select or unselect the orders that are appearing. You can also choose to skip the shipment notification that normally
goes out to the customer after updating the order(s). Click the "apply tracking number" button to update the selected orders.
Congratulations! You've successfully integrated Stamps.com with your UltraCart account.
Frequently Asked Questions
Question: How can I update the path to where Stamps.com will place the import file?
Answer: You'll log into stamps.com and then:
- Mouse over the "Manage Data Sources"and then choose Edit sources
- You'll see the profile name and file fields. I think this is what you were trying to describe to me was showing D:\ - update it to: C:\Stamps\UltraCart-import.xml, then click next
- The "Profile options" dialog window will appear and you can configure the "General", "Sender Information", "Packing Slip", & "Customs" tabs.