Product and Group Pages
Group pages and product pages exist to help customers narrow a catalog down to the thing they came for.
Search a large store for "sneaker" and you get thousands of results. Choose Men's Fashion, then Running Shoes, then a brand, and you are comparing ninety items instead of three hundred thousand. Categorizing products is what makes that possible, and an easier shopping task means more completed orders.
The distinction is simple:
| Page type | What it shows |
|---|---|
| Group page | Every product grouped under it, as a browsable listing |
| Product page | The details of a single item |
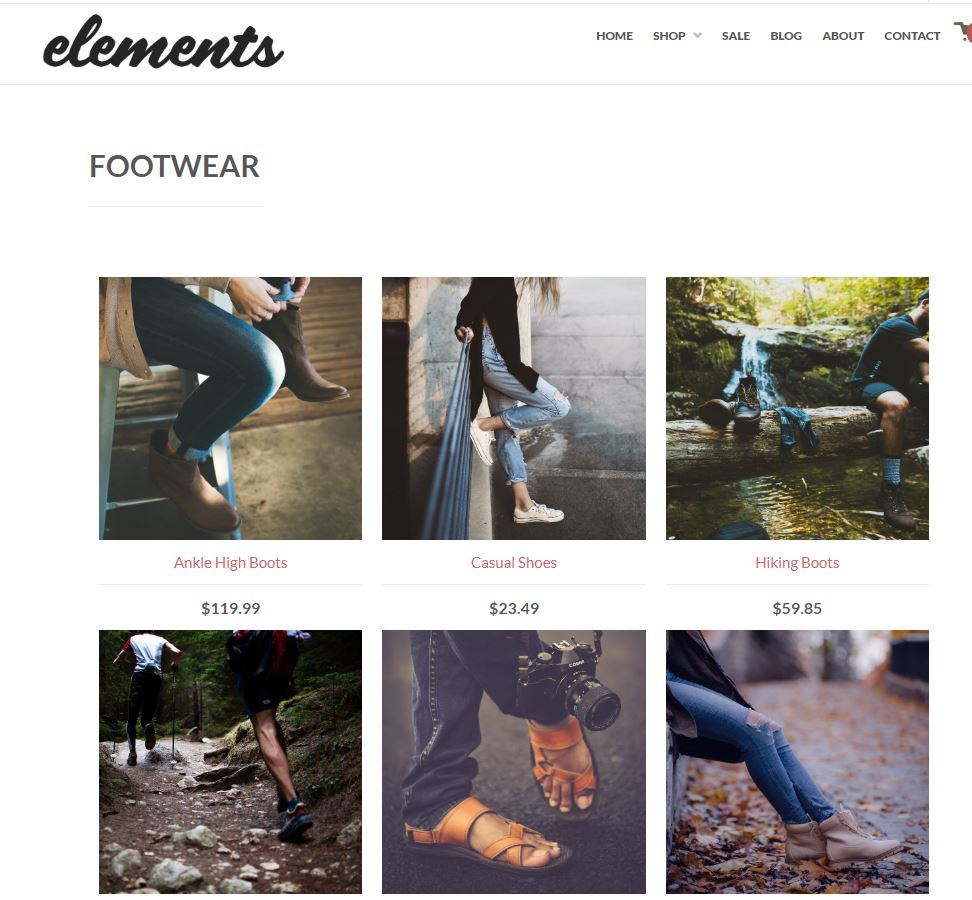
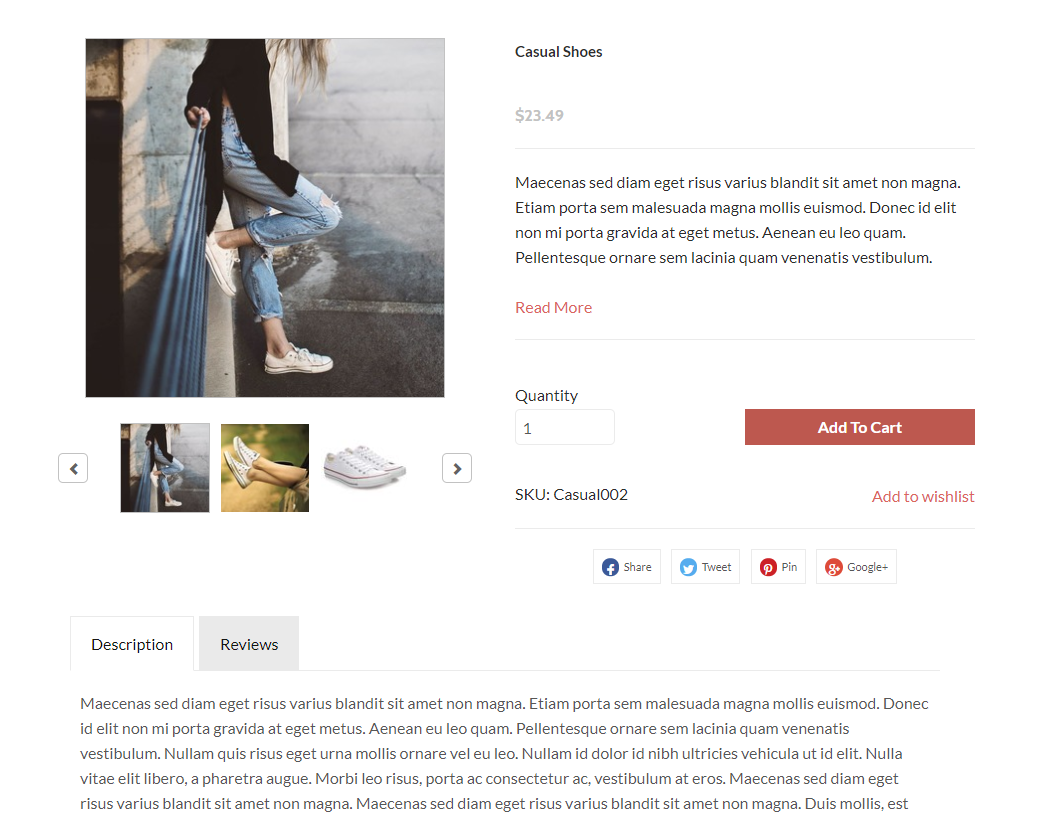
You do not create product pages one at a time. StoreFronts creates them automatically for each item you assign to a group page, which is why almost everything below happens on a group page's Items tab.
Create a group page
-
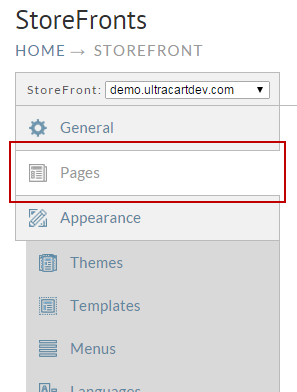
From the StoreFronts screen, click the Pages tab.
-
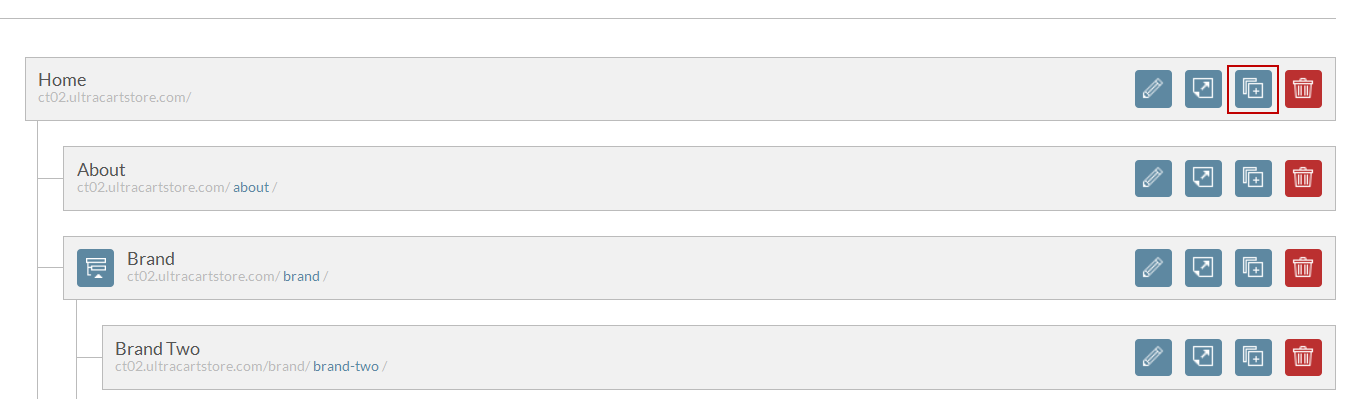
Find the Home page and click its Add a child page icon.
-
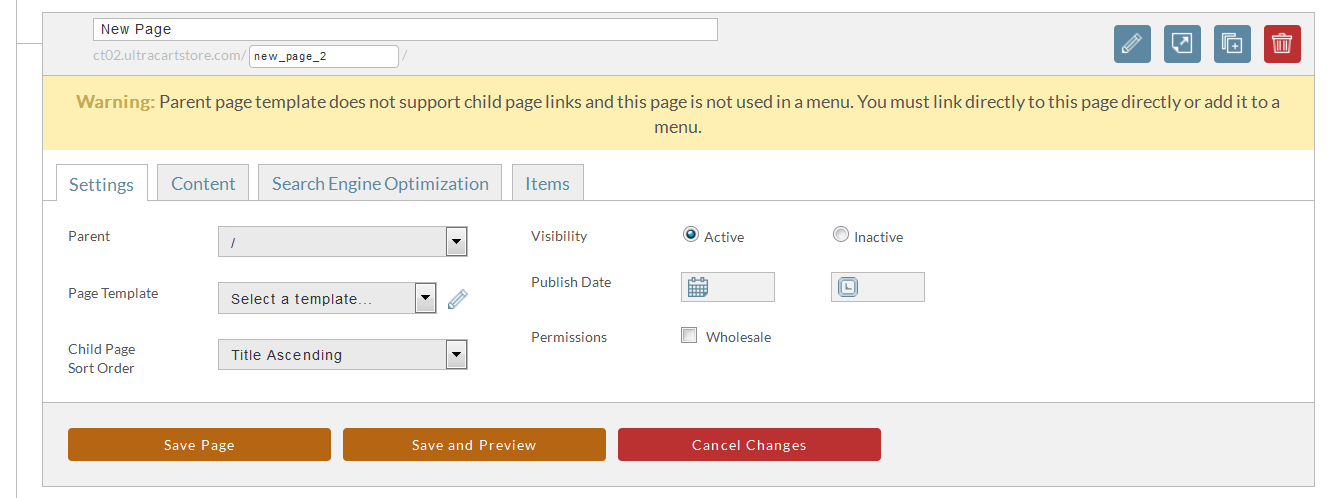
The new page settings appear.
-
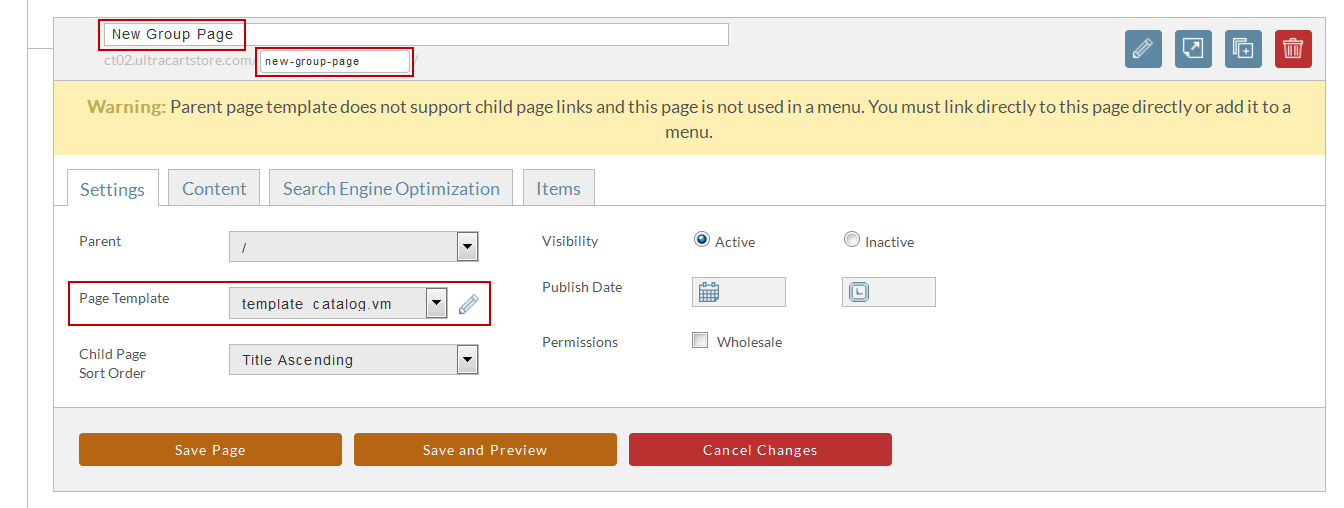
Set the Group Name, the Group Path, and the Page template. A group page will not display correctly until all three are set.
-
Click Save page.
Assign items to a group page
Assigning an item to a group page is what creates its product page. You can assign items by hand, or set conditions and let StoreFronts keep the group up to date on its own.
Assign items by hand
-
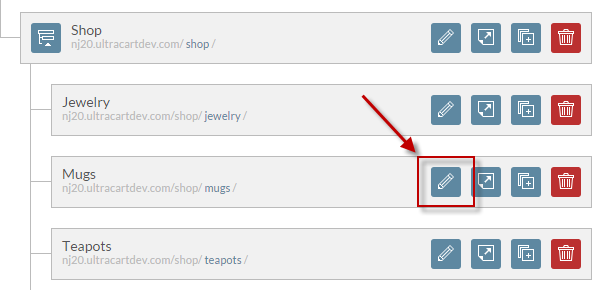
On the Pages tab, click the edit icon for the group page.
-
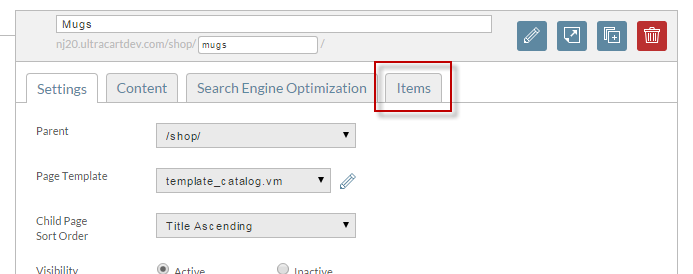
Open the Items tab.
-
Confirm Item Template is set to
template_item.vm, then save.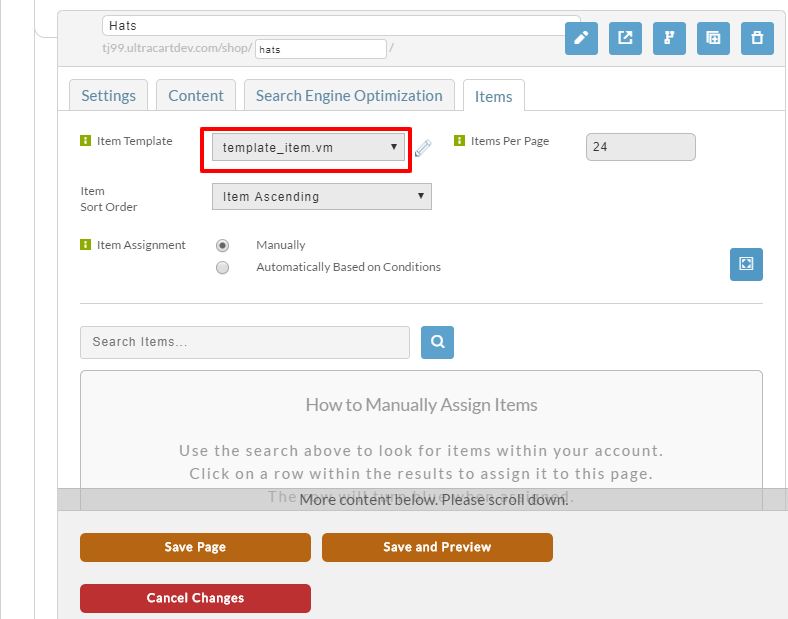
-
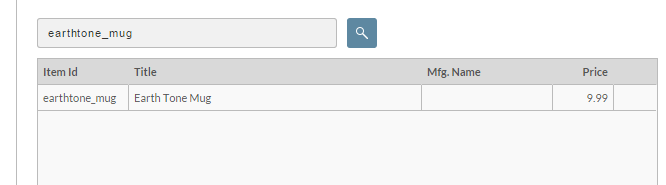
Type an item ID into the search field. Matching items appear as you type.
-
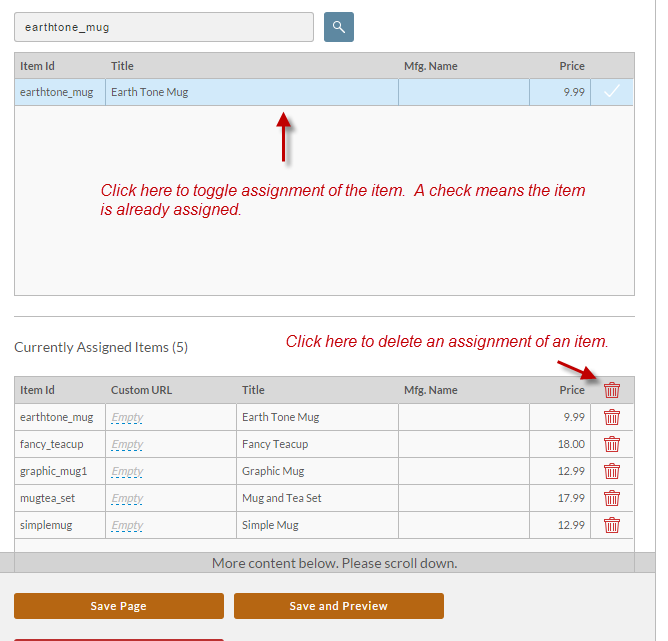
Click a result row to assign it. Click it again, or click the red trash icon next to the assignment, to remove it.
-
Click Save Page.
Assign items automatically, by condition
Conditions select items for you, so a group stays current as your catalog changes and you are not creating pages by hand.
-
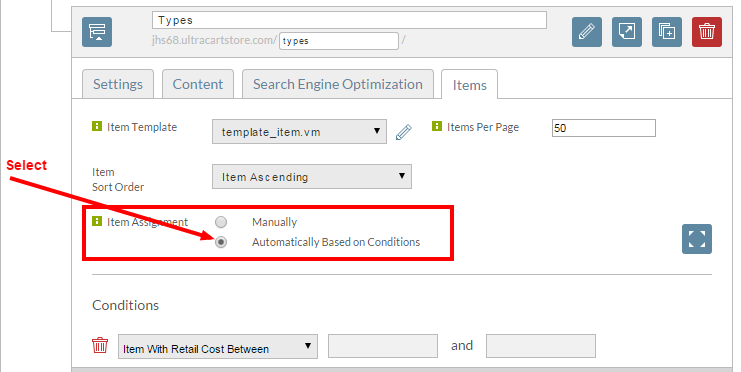
On the group page's Items tab, select Automatically Based Upon Conditions.
-
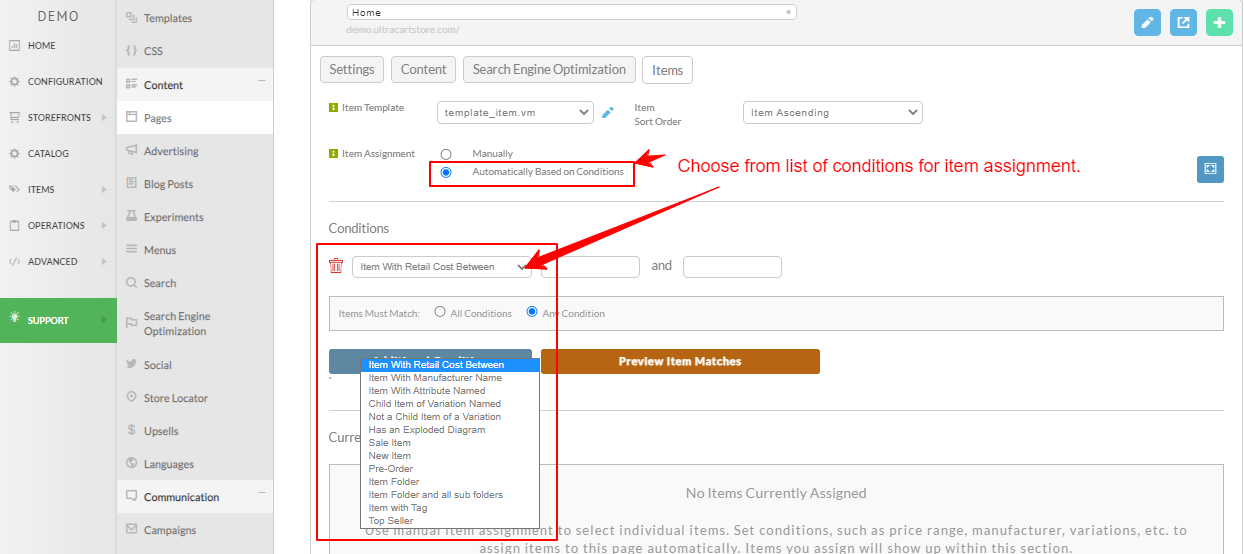
A Conditions section appears with a drop-down of the available conditions.
-
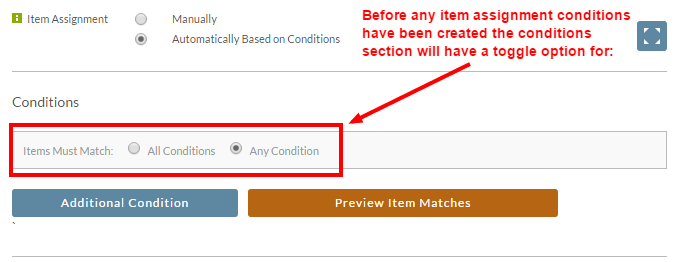
Choose whether items must match All Conditions or Any Condition.
-
Click Additional Condition to add each condition, one at a time.
-
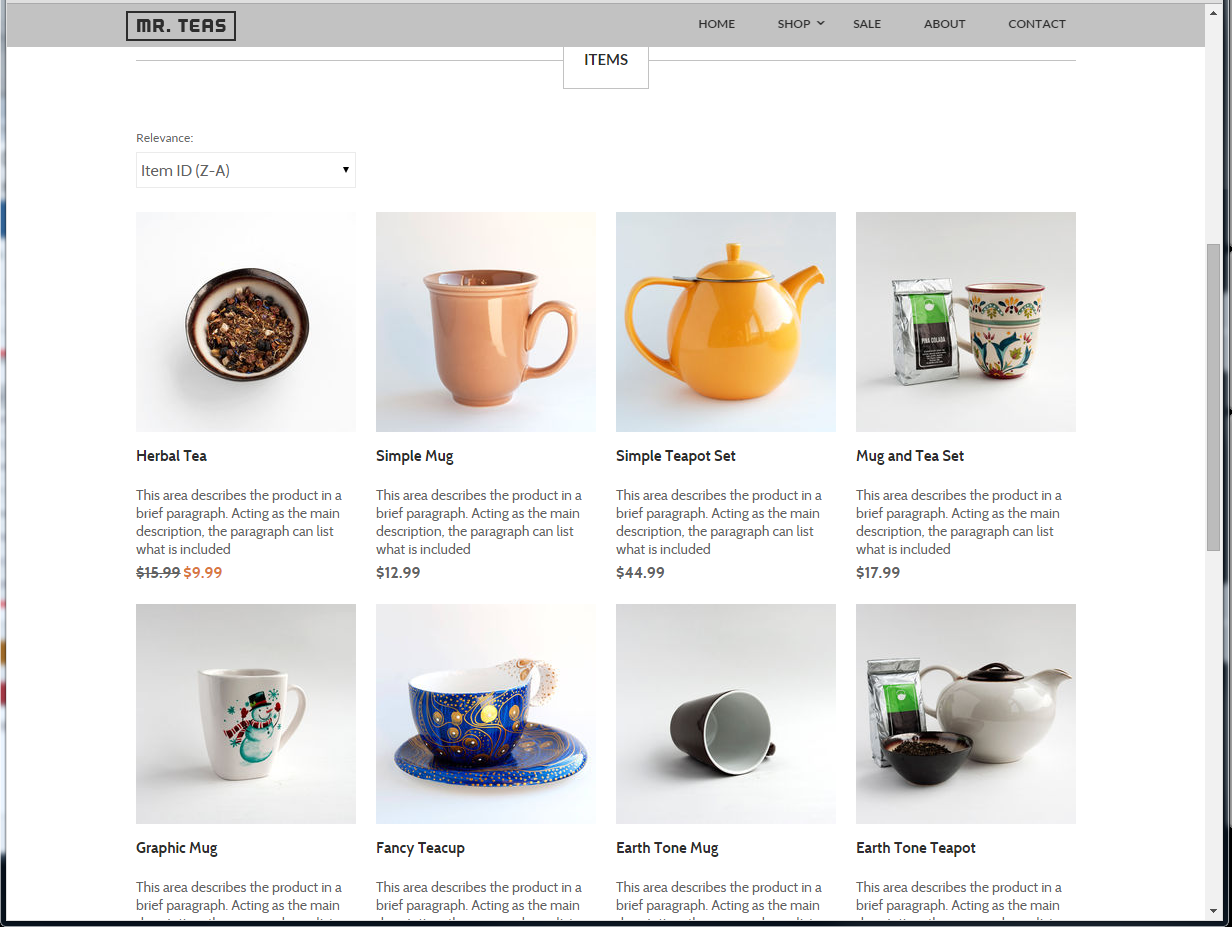
Save, then preview the group page to check what was selected.
The conditions available are:
| Condition | What it selects |
|---|---|
| Item With Retail Cost Between | Items whose retail cost falls in a range you set |
| Item With Manufacturer Name | Items from a named manufacturer |
| Item With Attribute Named | Items carrying a named item attribute |
| Child Item of Variation Named | The child items of a named variation |
| Not a Child Item of a Variation | Items that are not variation children |
| New Item | Items with New Item checked on the Shipping tab of the item editor |
| Has an Exploded Diagram | Items that have an exploded diagram |
| Sale Item | Items flagged as on sale |
| Item Folder | Items in a chosen folder |
| Item Folder and all sub folders | Items in a chosen folder and everything below it |
| Top Seller | Items identified as top sellers |
Set a custom URL for an item
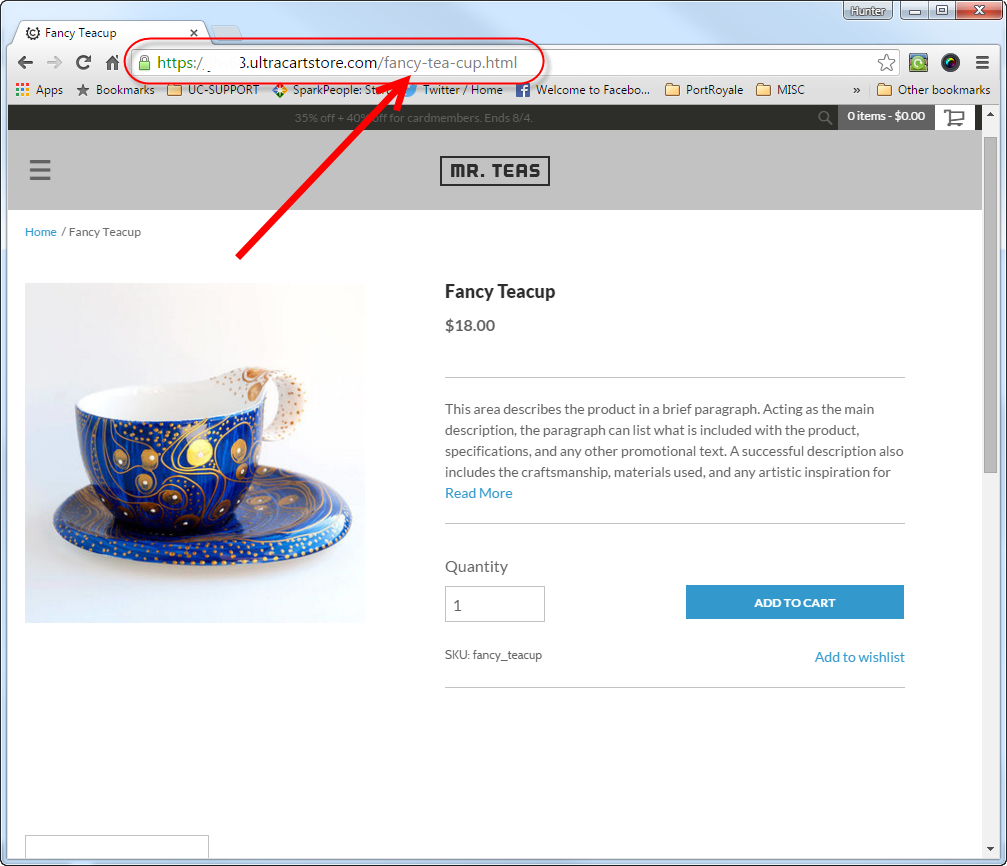
By default an item's page URL is its item ID, so fancy_teacup becomes fancy_teacup.html. You can override that per item.
-
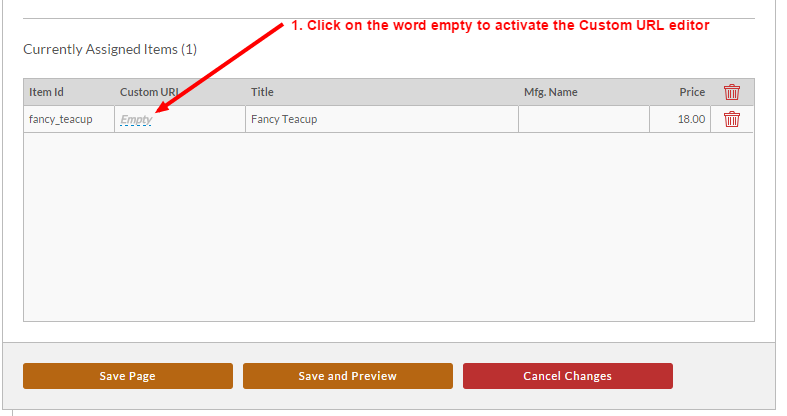
On the group page's Items tab, click empty in the assigned item's Custom URL field.
-
Enter the part of the URL that follows the host name, for example
fancy-tea-cup.html.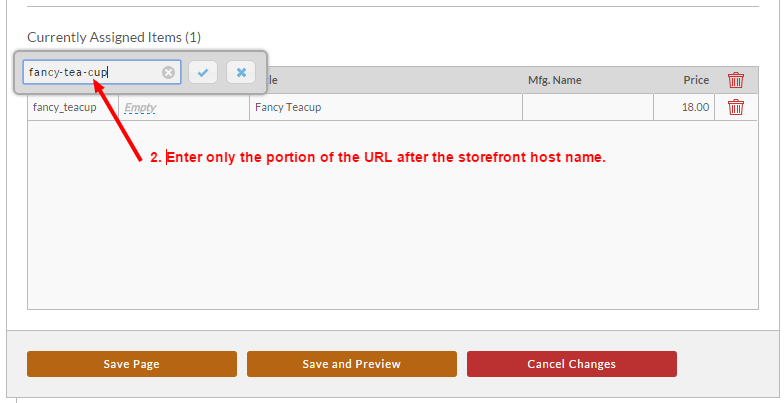
-
Click the check mark, then click Save Page. Skipping the check mark discards the entry.
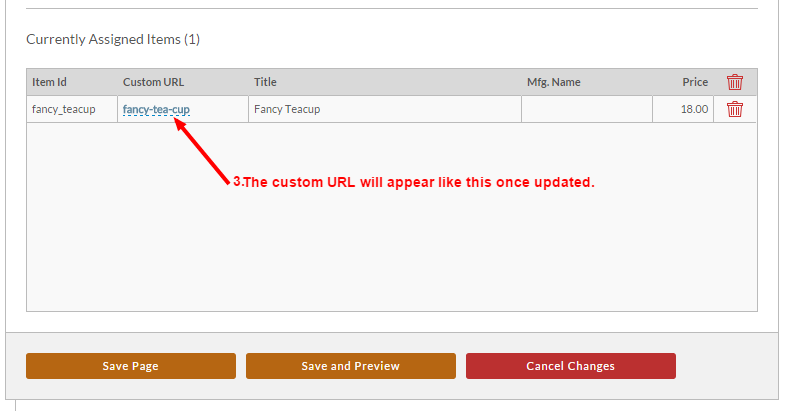
The item page then loads at the URL you set.
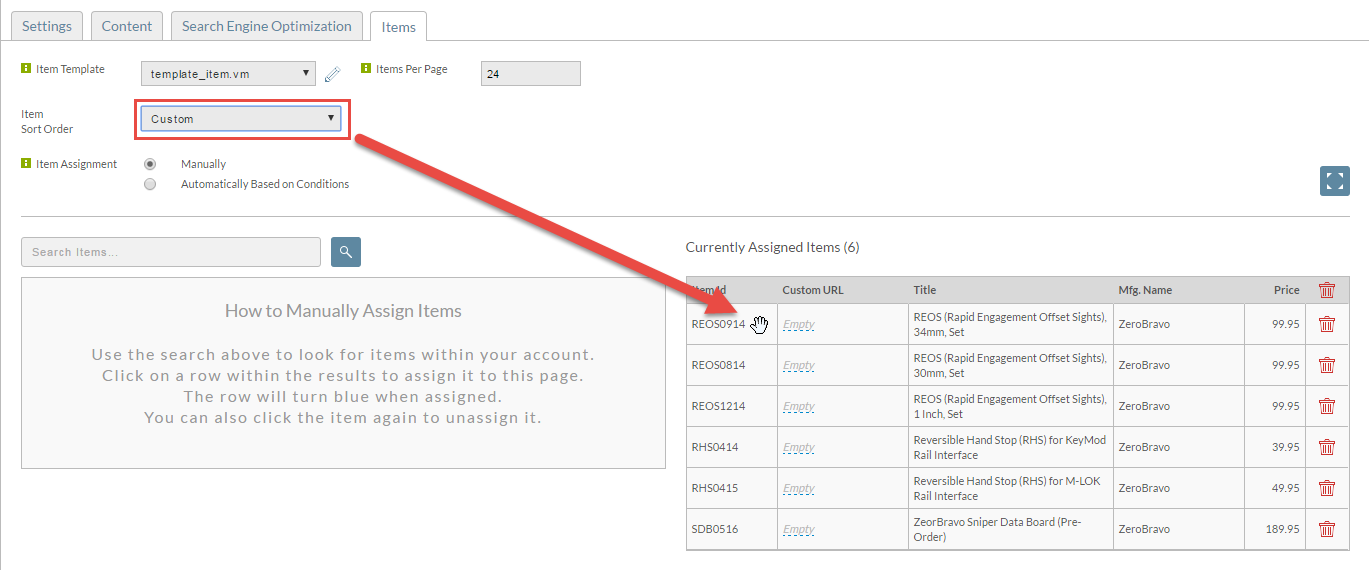
Change the order items appear in
This controls the order of items within a page. To reorder the pages themselves, see Order child pages.
-
On the group page's Items tab, choose from the Sort Order drop-down.
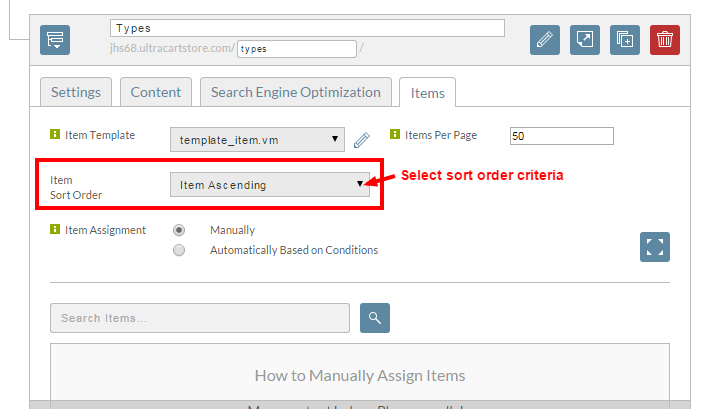
The choices are Item, Description, SKU, Price, and Review, each ascending or descending, plus Custom.
-
Click Save and Preview.
Choosing Custom puts the assigned items in drag order: a hand cursor appears over each row, and you drag rows up or down to set the sequence before saving.