Configuring DNS at HostGator for StoreFronts
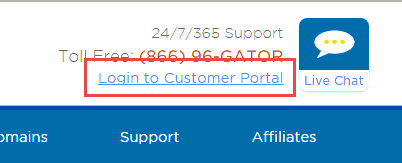
First go to HostGator.com, and click the "Login to Customer Portal" link as shown below.
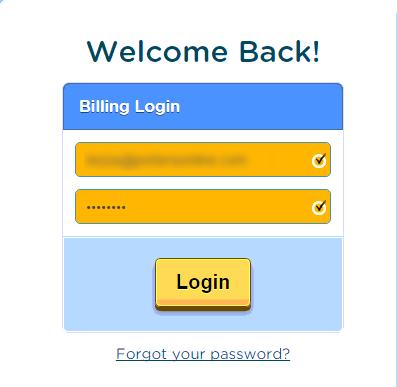
Fill out your credentials and click "Login".
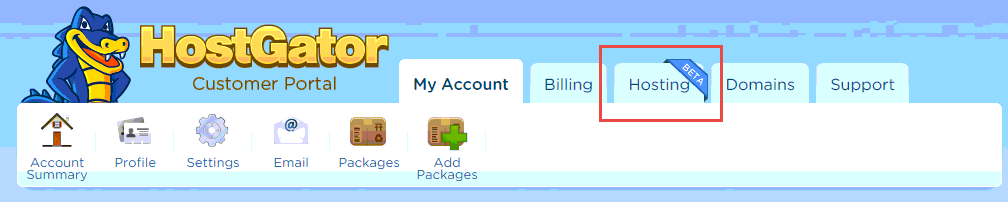
.Click on the "Hosting" tab.
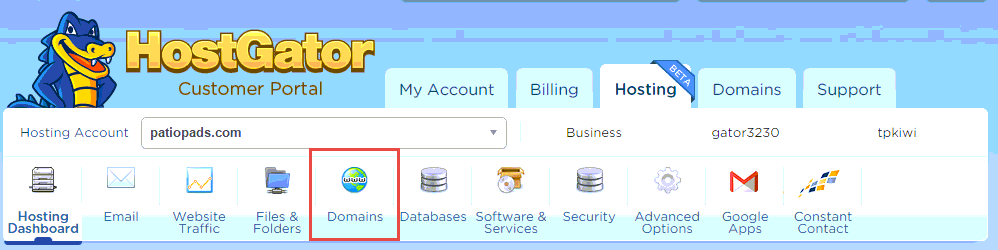
Click on the "Domains" button.
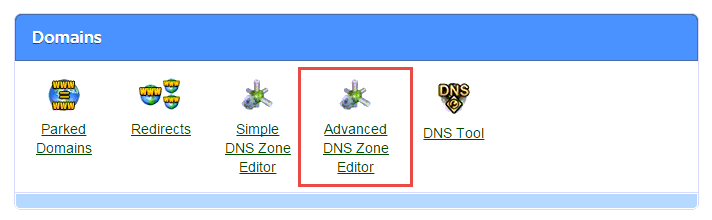
Scroll down the page and then click on "Advanced DNS Zone Editor".
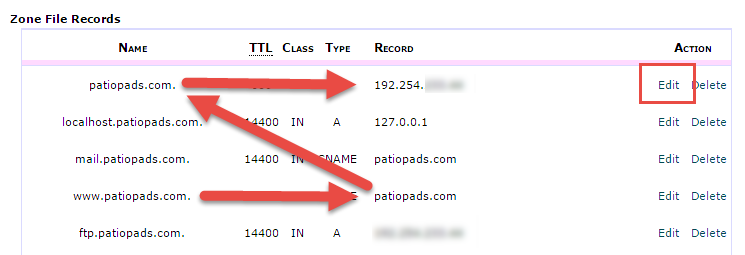
As we can see in the zone file, the www entry is already a CNAME of the root entry. The root entry is pointed at an IP address. All we need to do is click "Edit" on the root host name entry as shown below.
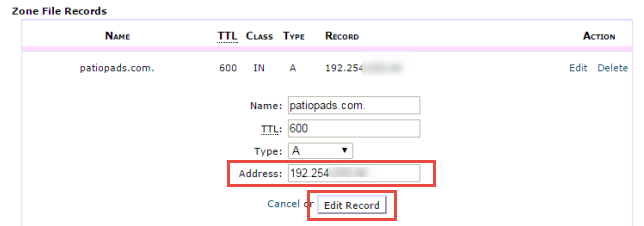
Change the Address to the IP address provided by UltraCart and then click "Edit Record" to save it.
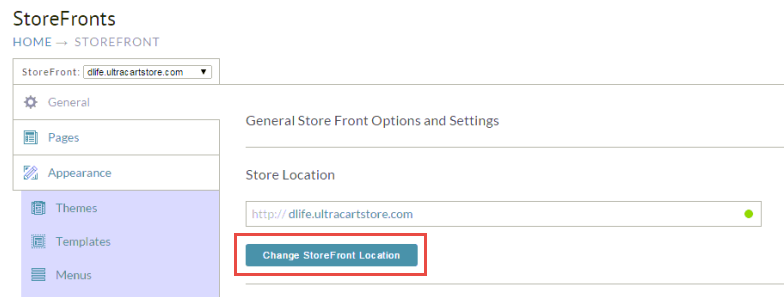
At this point the DNS is pointed at UltraCart. We can now return to our StoreFront and proceed with the activation. On the general tab click on "Change StoreFront Location".
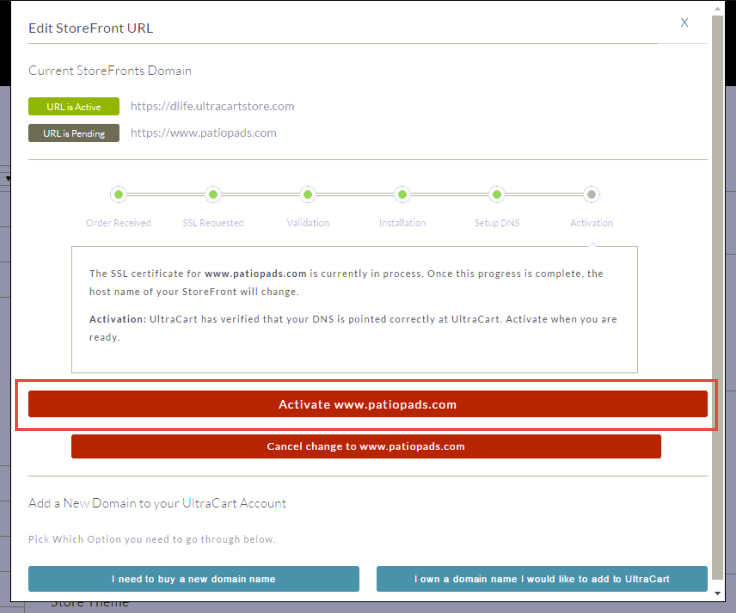
Click on the big activate button as shown below.
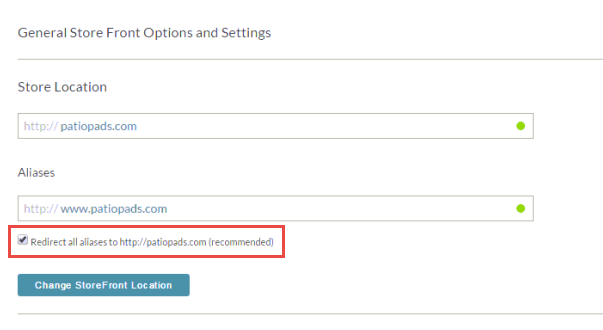
Finally we recommend redirecting everything to the primary host name. Check the box and click save.
Congratulations! Your StoreFront is now live.