About
This tutorial will illustrate how to create additional menu's in your storefront using the Visual Builder.
Configuring an Additional Menu in Your Storefront
The first step is to open your storefront into the Visual Editor.
Next we will choose the location to add the new menu:
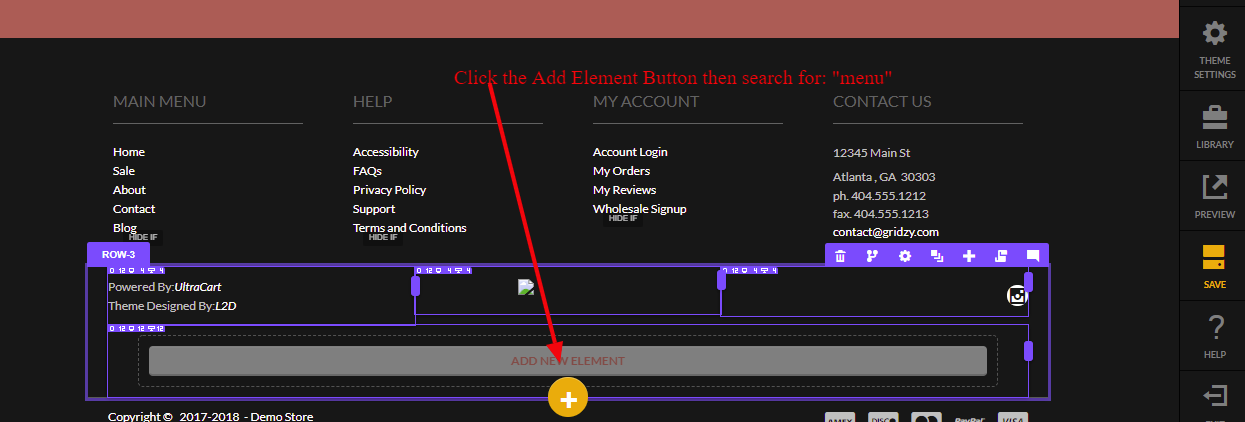
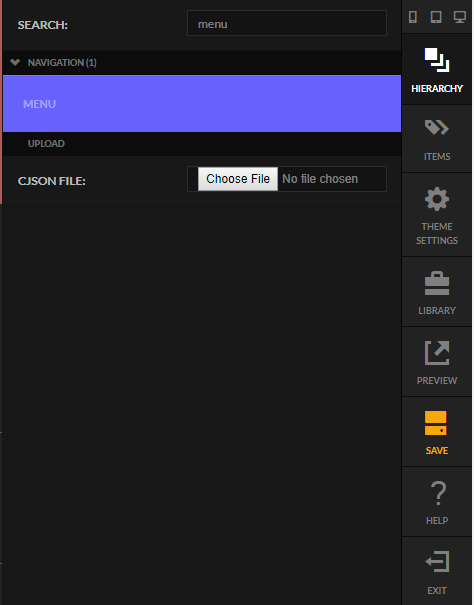
Next we will insert the "menu" element into the page by clicking the "Add Element" button then searching for: :menu"
Our new menu initially appears like this:
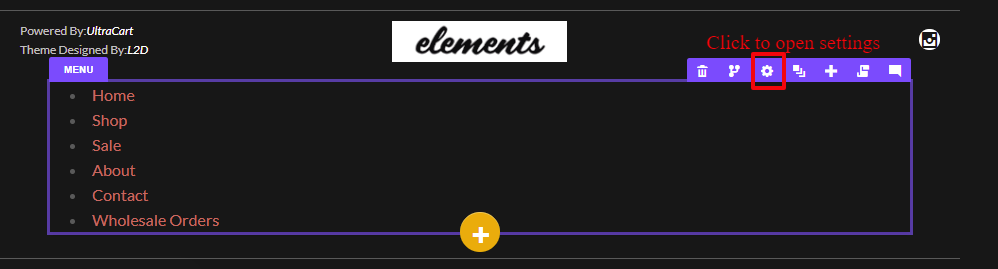
The menu appears as a duplicate of the header menu, we will edit the menu items in a moment, but first let's open the settings panel and rename the new menu from "header" to something that reflects the purpose of our new menu (in this example the new name is "New Menu"):

After saving the new Menu name, we can navigate over to the Storefront menu in the UltraCart backend and add the menu selections to the new menu:
\
After adding our menu choices:

We can go back and view our storefront to display the new menu!
