Introduction
The Visual Builder contains a element that creates a item image gallery based upon the images uploaded to the item in the item editor.
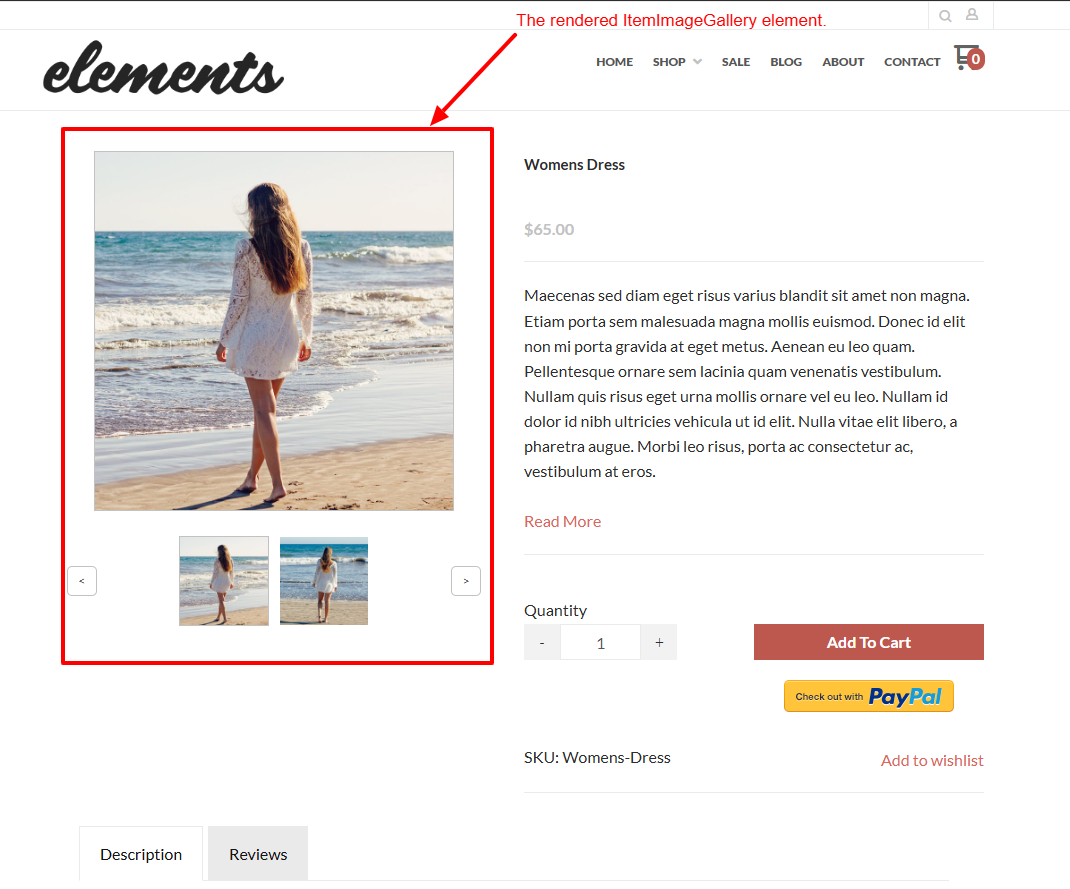
The ‘ItemImageGallery’ element is built into the item detail page of all of the Visual Builder enabled themes. The default image is displayed, and any secondary or child images will appear below the default item image in thumbnail format.
Merchants with large item counts may also use the Item Tool ‘Upload Multiple Images’ as a faster alternative configuration method.
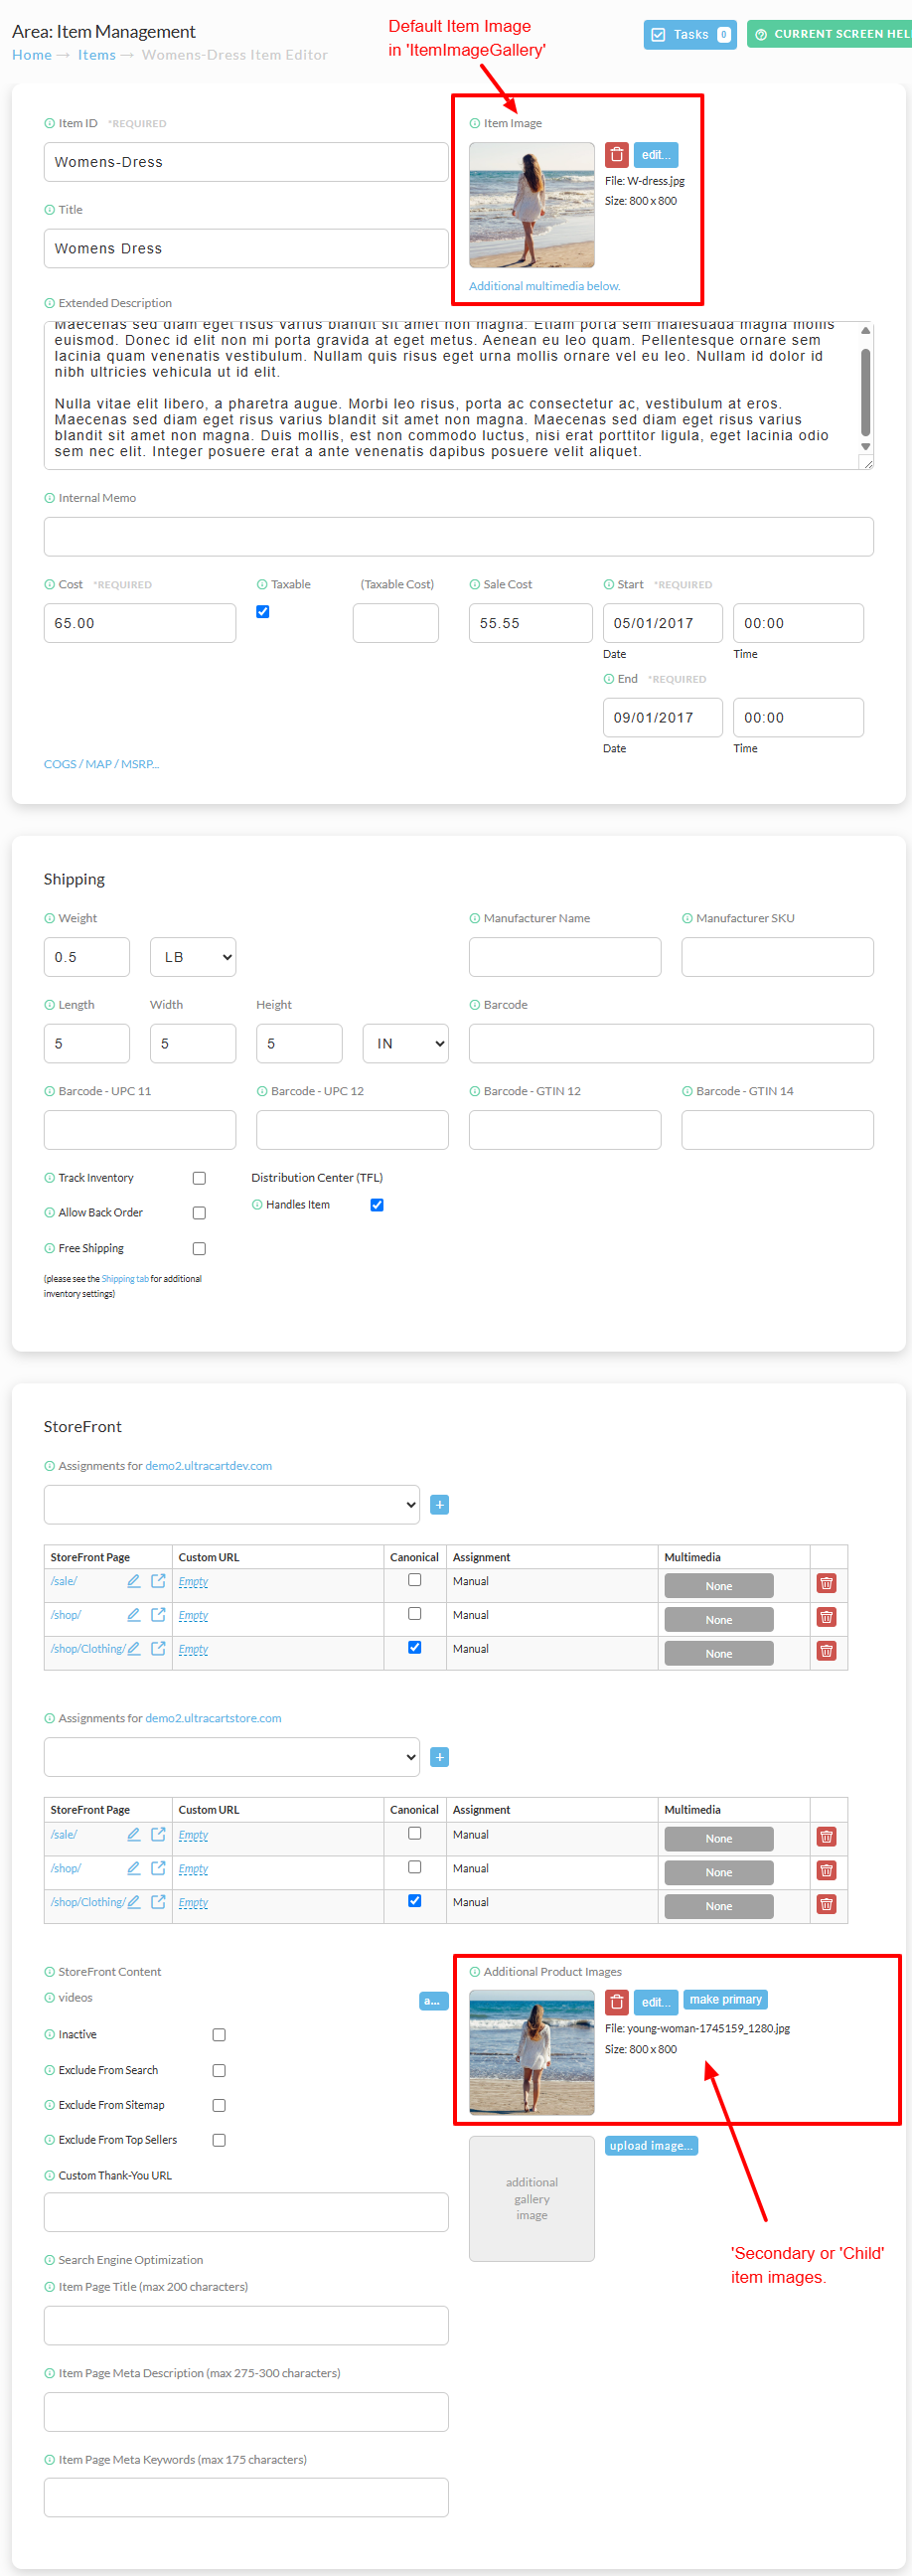
Simply upload the images into the item editor. The first image becomes the default item image. Subsequent images are uploaded from the Storefronts section slightly further down the first tab of the item editor.
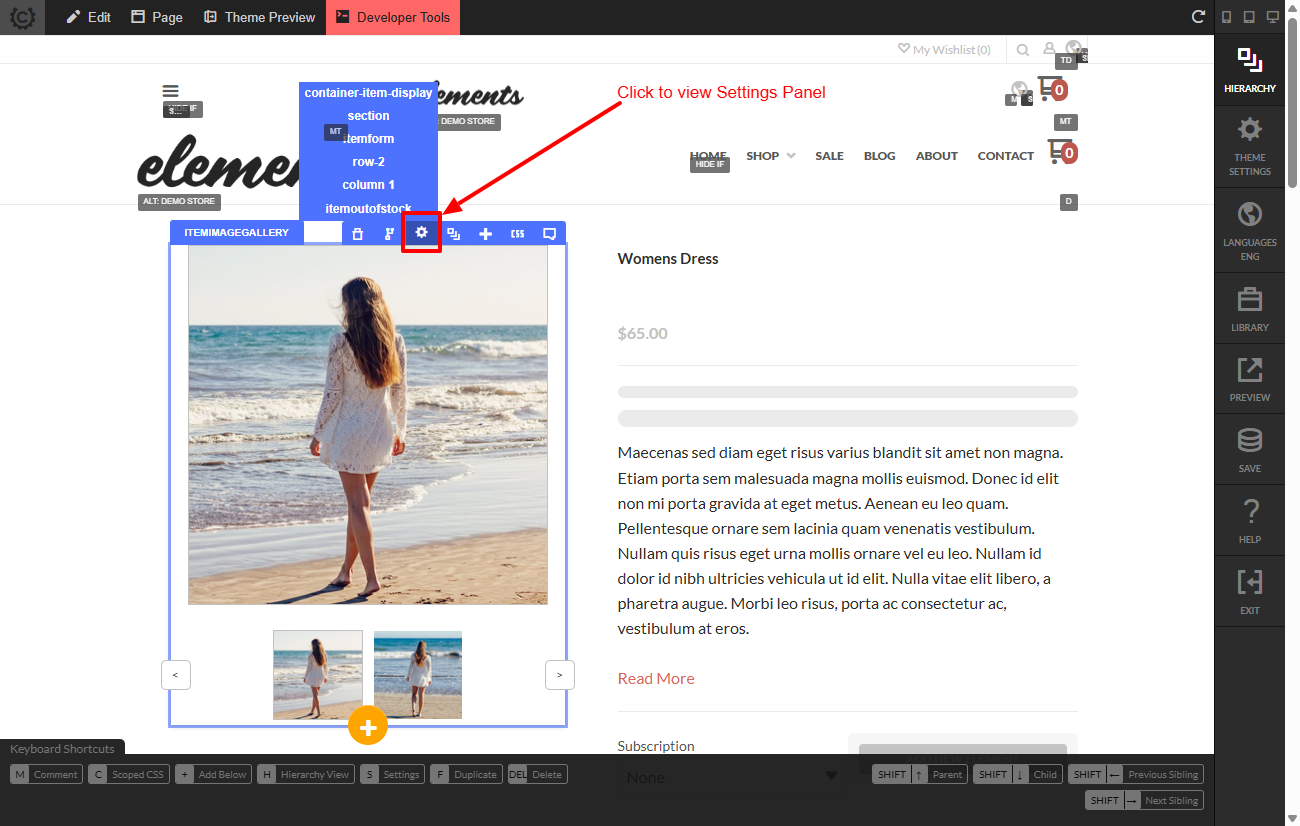
The Visual Builder Settings Panel
You can modify the Item Image Gallery by opening the Settings Panel.
The ItemImageGallery settings has 6 sections:
-
Visibility Settings -
Toggle Mobile,Tablet, Desktop views. -
Large (view) -
Set Default image Width, Height, Image Format, LetterBox. -
Thumbnail -
Set Width and Height. -
Margin -
Set Top, Right, Bottom, Left margins -
CSS -
Configure Scoped CSS. -
Search -
Set Search Index, Exclude From Search
Frequently Asked Questions
Question: How do you configure variation specific item images?
Answer: In the ‘Options/Variations’ tab in item editor, when configuring the Item Variations, you’ll have a image assignment field to assign the image to be associated with the variation selection. This is the method of assigning the variation specific images to appear in the ItemImageGallery.